Next Post
This post may contain affiliate links, please see our privacy policy for details.
Two words. Monumental Recipe…..Traditional Greek Pita Bread.
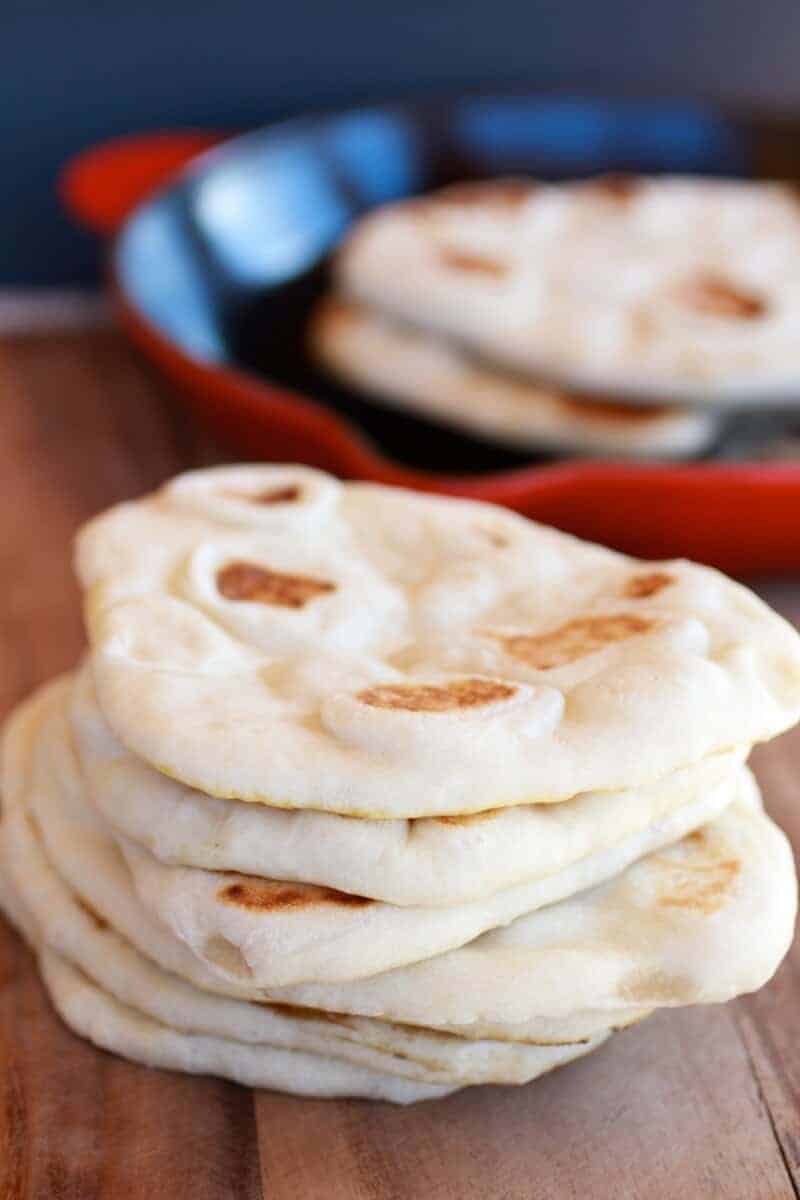
Yeah, monumental.
It is just that good.
Like it is crazy, just insanely good. You could not get them better unless you flew to Greece.
I can promise you guys, that after you make this easy homemade traditional Greek pita bread you will never want to buy the store-bought version again. Sure, you may have to for convenience and time purposes, but you will probably be wishing you were eating these.
Nah, not probably. You will. Guaranteed.
They’re so soft, so chewy and the flavor is just so good. There really are no words to describe just how good these are.
If you can make pizza dough, you can make these. And even if you have never made pizza dough, you can still make these. They are so simple and the dough is really easy to work with. These pitas are going to transform your lunches and even your dinners! Greek pizza? Yes!
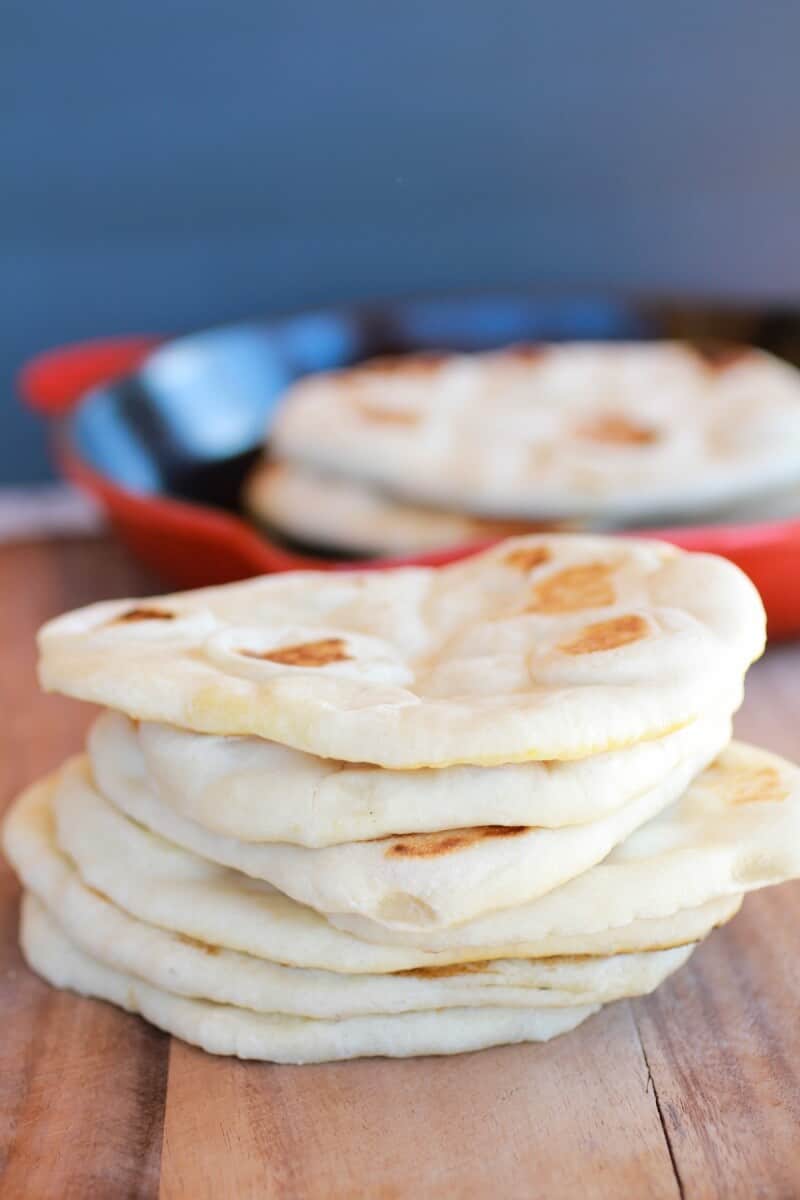
So, I made these pita’s with a purpose. A real good purpose. But you are going to have to wait till tomorrow for that.
Until then, make these pita’s. You’ll want to just eat them plain, but you really should wait and pair them with tomorrow’s post.
But trust me, make them now.
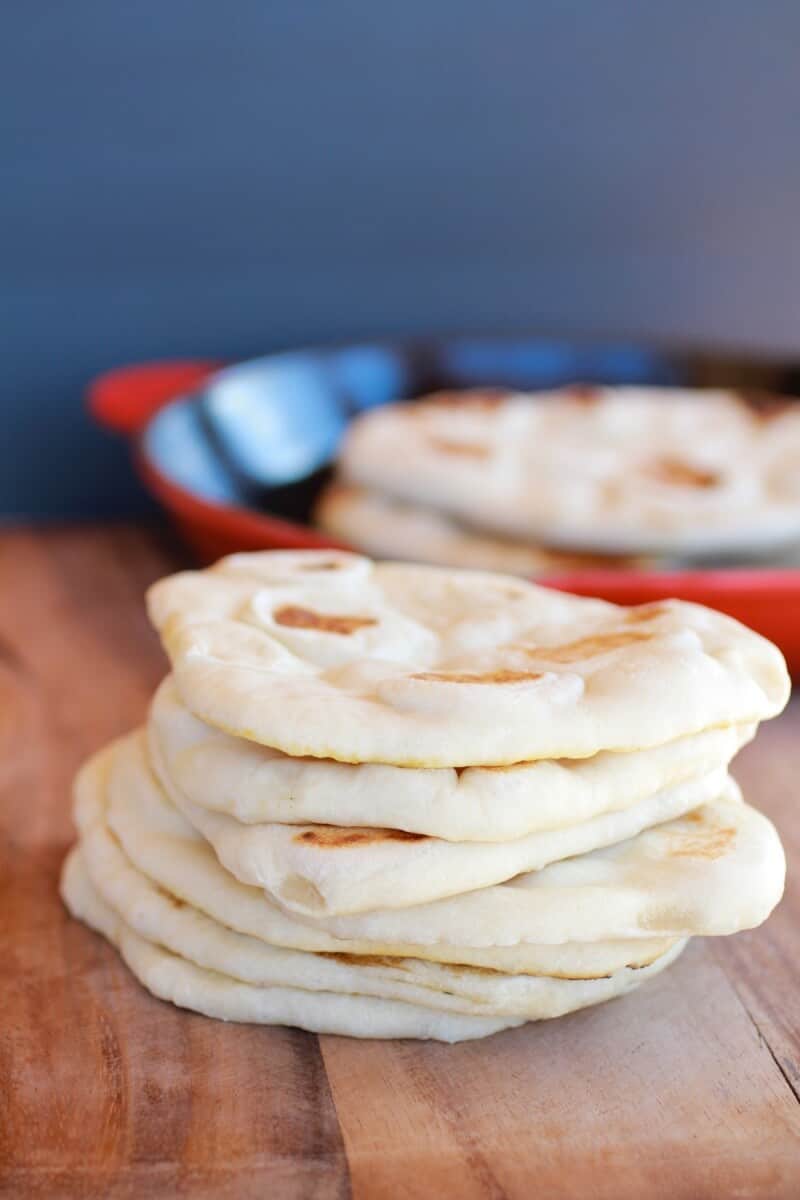
Traditional Greek Pita Bread.
Servings: 8 pita rounds
Calories Per Serving: 193 kcal
Nutritional information is only an estimate. The accuracy of the nutritional information for any recipe on this site is not guaranteed.
Ingredients
- 1 cup hot water but not boiling
- 2 teaspoons active dry or instant yeast
- 2 1/2 - 3 cups all-purpose flour
- 2 teaspoons salt
- 1 tablespoon olive oil
Instructions
- Mix the water and yeast together in the bowl of a stand mixer (a large bowl will also work if you do not have a mixer), and let sit for about five minutes until the yeast is dissolved. Add 2 1/2 cups of the flour (saving the last half cup for kneading), salt, and olive oil. If using a stand mixer attach the dough and need the dough on medium speed for 8 minutes, adding more flour until you have a smooth dough. If using your hands sprinkle a little of the extra flour onto your clean work surface and turn out the dough. Knead the dough for about 5-7 minutes, until the dough is smooth and elastic. Add more flour as needed to keep the dough from sticking to your hands or the work surface, but try to be sparing. It's better to use too little flour than too much. If you get tired, stop and let the dough rest for a few minutes before finishing kneading.
- Clean the bowl you used to mix the dough and run it with a little olive oil. Set the dough in the bowl and turn it until it's coated with oil. Cover with a clean dishcloth or plastic wrap and let the dough rise until it's doubled in bulk, about 1 hour.
- At this point, you can refrigerate the pita dough until it is needed. You can also bake one or two pitas at a time, saving the rest of the dough in the fridge. The dough will keep refrigerated for about a week.
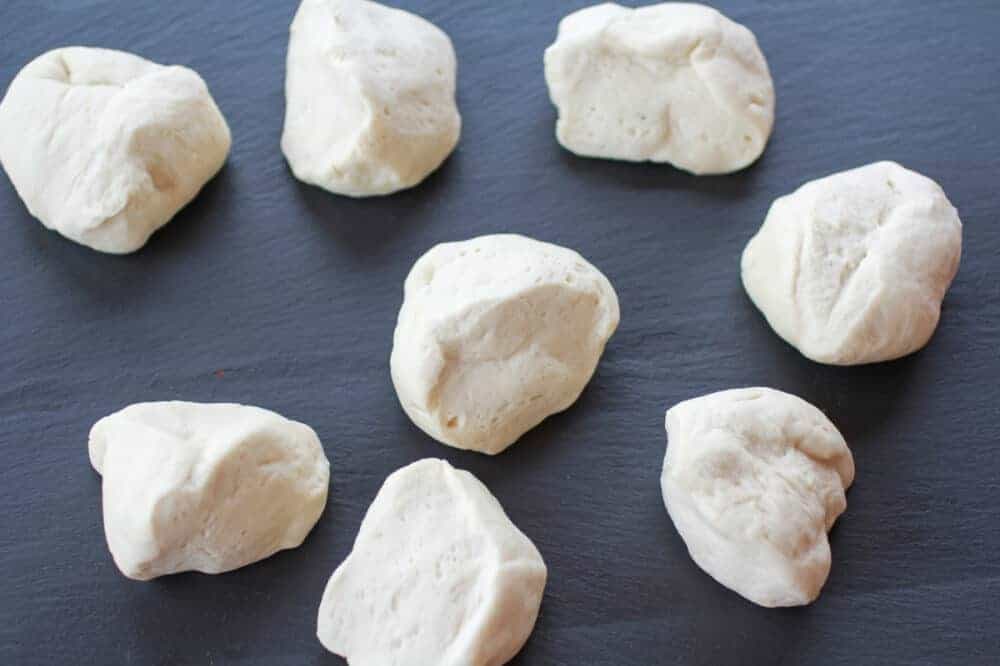
- Gently deflate the dough and turn it out onto a lightly floured work surface. Divide the dough into 8 equal pieces and gently flatten each piece into a thick disk. Using a floured rolling pin, roll one of the pieces into a circle 8-9 inches wide and about a quarter inch thick. Lift and turn the dough frequently as you roll to make sure the dough isn't sticking to your counter. Sprinkle with a little extra flour if it starting to stick. If the dough starts to spring back, set it aside to rest for a few minutes, then continue rolling. Repeat with the other pieces of dough. (Once you get the hang of it you can be cooking one pita while rolling the next one out.)
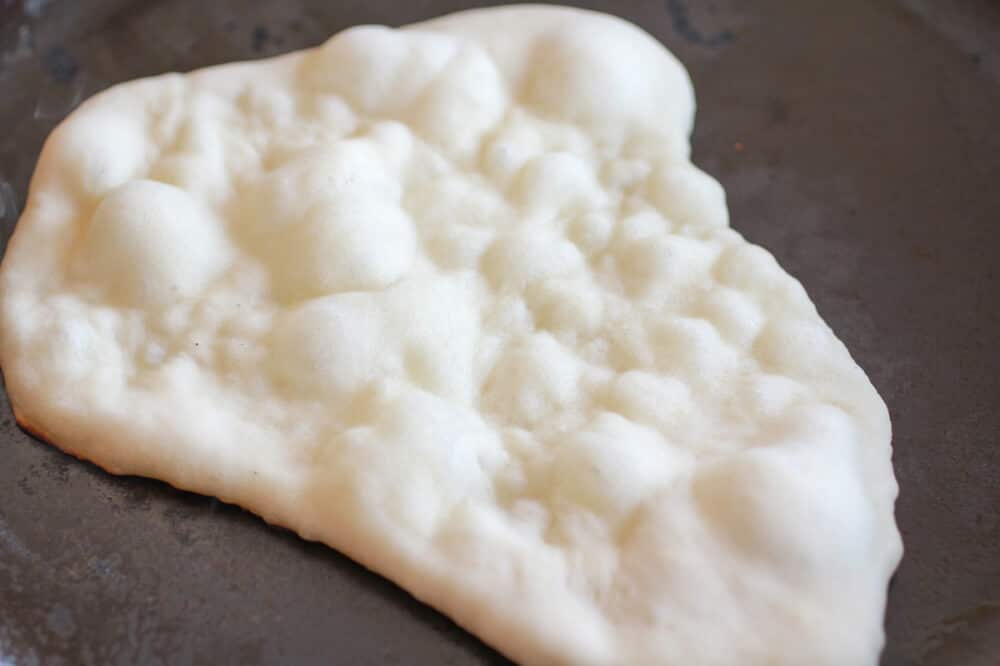
- Warm a cast iron skillet over medium-high heat (you want a hot pan). Drizzle a little oil in the pan and wipe off the excess.Lay a rolled-out pita on the skillet and bake for 30 seconds, until you see bubbles starting to form. Flip and cook for 1-2 minutes on the other side, until large toasted spots appear on the underside. Flip again and cook another 1-2 minutes to toast the other side. The pita should start to puff up during this time; if it doesn't or if only small pockets form, try pressing the surface of the pita gently with a clean towel. Keep cooked pitas covered with a clean dishtowel while cooking any remaining pitas.
- These are best eaten fresh, but will keep in a ziplock bag for a few days or in the freezer.
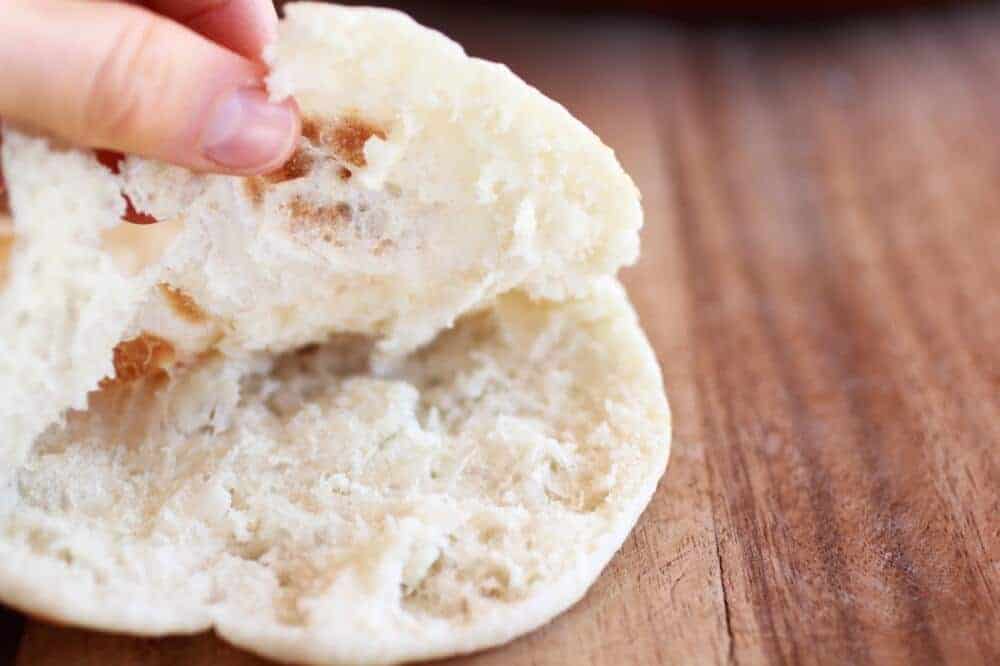
It is Sunday. The perfect day to make some fresh homemade Greek pitas!
Shared with: Inside BruCru Life, Lil Luna, Chef In Training, Buns In my Oven, Foodie Friday Friends, Tidy Mom, Taste and Tell, Cheerios and Lattes, Somewhat Simple, Mom on Timeout, I Heart Nap Time, Fine Craft Guide, The Country Cook, Whipperberry, Chef In Training


love this recipe but looking for a little studier of a bread for my falafel sandwiches. could i sub ~1/2 cup AP for bread flour?
Hi Alex,
I’ve not tested this, but I don’t see why it wouldn’t work well for you! Let me know how it turns out:) xTieghan
These are awesome. Always consistent and so easy. Elevates any weeknight dinner! Have made them over and over again and they never disappoint.
Hi Alex,
Happy Friday!!? I am thrilled to hear this recipe was enjoyed, thanks a bunch for giving it a try! xxT
So easy! A friend shared this with me awhile back and I come back to it all the time when I crave the fluffiest, yummiest pitas. These are so much better than store bought. Thanks Tieghan!
Hi Frances,
Happy Wednesday! Thanks a lot for making this recipe and sharing your feedback, I love to hear that it was enjoyed:) xx
Hoping to try these. Question. Is it 8 minutes in the mixer and then another 5-7 kneading out of the mixer?
Hi Paige,
Nope, it’s 8 minutes in the mixer OR 5-7 minutes if kneading by hand. Please let me know if you have any other questions! xTieghan
Sooooo good!
Hi Lizzy,
Awesome!! I am so glad that this recipe was enjoyed, thanks for your comment and sharing your feedback! xxT
Hello,
I just made these the first time and they did not puff. Any advice or suggestions? I did try gently pressing them with a clean towel as the recipe states. And my cast iron skillet was on medium temp but they did burn after only one minute on each side. Thank you!
Hi Stefanie,
Thanks for giving the recipe a try, so sorry to hear you had issues! Was there anything you may have adjusted in the recipe? What kind of yeast did you use? Let me know how I can help! xx
Thanks! I used active dry yeast and the water was 106 when I added it to the yeast. And I saw the yeast bubbling before adding the other ingredients.
Hmm sounds like you did everything right. Maybe turn your heat down a touch and see if that helps!
Was pleasantly surprised by how easy these were! My dough didn’t double in size or proof at all but the pitas did have some bubbles when I threw it on the hot skillet. I’m wondering if the salt I added killed the yeast – next time I’ll try adding the salt after about 10% of the flour. Regardless, tasted great.
Hey there,
Happy Friday!!? I am thrilled to hear this recipe was enjoyed, thanks a bunch for giving it a try! I would check your yeast next time and make sure the dough is in a warm spot in the kitchen:) xxT
This turned out great even though I totally messed it up and way over proofed! I made half the recipe which was perfect for two of us. I forgot about the dough so did not put it in the fridge after an hour. I was going to just throw it away when I realized it had been sitting there for 3 hours but decided I might as well cook them and see and they were delicious! Next time I will follow the instructions 🙂
Hi Pam,
Awesome!! Thanks so much for making this recipe, I am so glad it was enjoyed. Have a great weekend:) xTieghan
I love this. I make the dough on Sunday, and then make a pita every day for lunch during the week since the dough stays good in the fridge for so long.
Hey Lindsey,
Awesome!! I love to hear that this recipe was enjoyed, thanks so much for giving it a go! Have the best week:) xT
I don’t know how I’m gonna loose weight if I keep making these pitas! There so good !
Hey Raquel,
Happy Wednesday!! I am thrilled to hear that this recipe was enjoyed, thanks so much for giving it a go!! ☘️Tieghan
Made this Pita bread tonight to go with some Souvlaki sandwiches and it was fantastic! Recipe was easy to follow and tasted great.
Hi Lexy,
Fantastic! Thanks a lot for making this recipe, I love to hear that it was enjoyed! Have a great week:) xx
Hey! When you take the Pita dough out of the fridge (If making it ahead of time) do you need to let the dough sit for any amount of time before cutting it and making it?
Thanks in advance 🙂
Hey Charly,
Yes, you will want to allow the pita dough to come to room temp. I hope you love the recipe, please let me know if you give it a try! xTieghan
Sooo tasty! Do you think this recipe work well doubled as a pizza dough?? Thinking of trying tonight!?
Thank you so much, I’m so glad you enjoyed this recipe! I haven’t tried it as pizza dough so I’m not too sure! Happy Monday ? xTieghan
Another winner Tieghan ? So easy and so yum
Hey Farah,
Thanks so much for making this recipe, I am delighted to hear that it was enjoyed! Have the best weekend:) xTieghan
Why wouldn’t you make this recipe using the amount of yeast that comes in a packet???
I just used the whole packet and it was fine 🙂
Many people (myself included) don’t use yeast packets. Just like different recipes use different amounts of ingredients like flour, they also use different amounts of yeast.
Perfect!
Hey Caro,
Happy Sunday! Thanks a lot for making this recipe, I love to hear that it was enjoyed! xxTieghan
SO easy and SO delicious! They’re amazing and so worth the extra time to make them on your own. You’ll never want to buy pita from the store again!
Hey Alexa,
Awesome! Thanks a lot for giving this recipe a try, I am so delighted that it was enjoyed!! xTieghan