Next Post
Roasted Apple Pecan and Brie Buckwheat Waffles with Caramel Drizzle
Originally published Sep 15, 2013 • Updated Sep 17, 2025

This post may contain affiliate links, please see our privacy policy for details.
If you’ve been craving a cozy baking project, croissants are it—buttery layers, crisp edges, and that soft, honeycomb center. This tutorial walks you through each step with photos and real-world tips, so you get visible layers and a tender bite.
We’ll cover the cues that matter (how the dough should feel, how the butter should bend, and what “proofed and puffy” actually looks like), plus make-ahead and freezing for weekend brunch or holiday mornings.

Here is the deal, they are actually very straight forward and technically not hard at all. If you make bread you can make these, but you do need time (think like the whole weekend or you know, fourteen hours or so) and patience, which I have neither of. Still kind of amazed I actually made them, but like I said I have been wanting to forever. Ok well, that and I needed some of the dough for a project.
Oh and I should mention, I made not only one batch of croissant, I actually made a total of three. Yeah, three. One for now and two to freeze and save for Thanksgiving and Christmas. I figured if I was making them, I might as well just make a ton. My cousins are coming for Christmas again this year (so excited!!) and I can guarantee we will have Thanksgiving guests too…..
Enter random kids who my brothers find on the hill. It’s just so much fun!
Not.
Anyway, I am stocked with croissants. Over fifty are sitting in my freezer right now. It’s kind of awesome.
Ok enough, let’s get on with it!
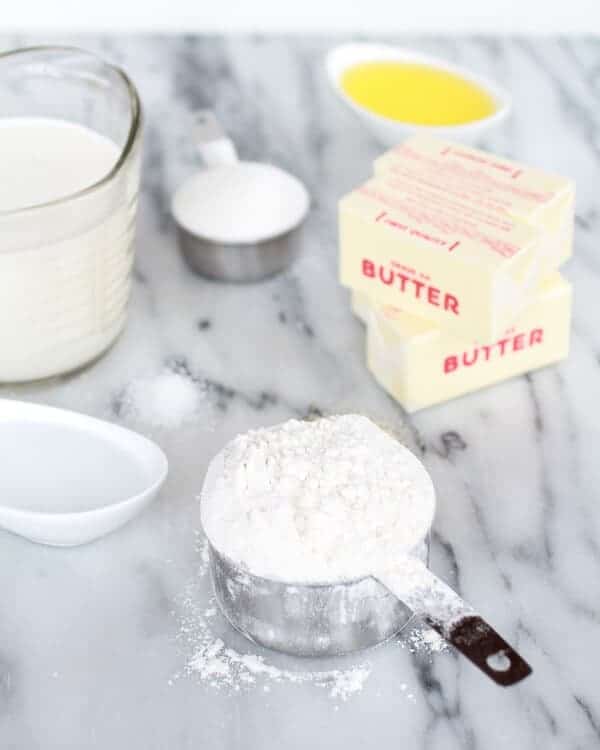
Gather your ingredients.
Start out pretty simple. Flour, cold milk, hot water, yeast, sugar, salt and lots of butter!
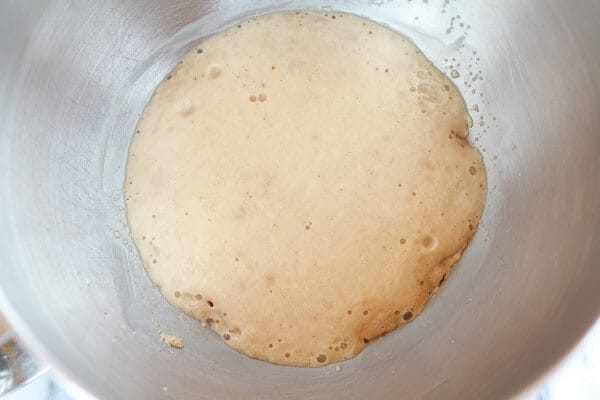
Start by activating the yeast. Combine the warm water with the sugar and yeast. Let sit for 10 minutes until foamy. It should smell bread-like.
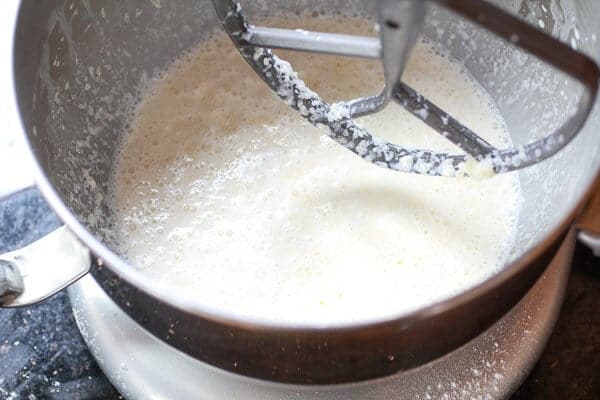
In the large bowl of a stand mixer (or in a large bowl) fitted with the paddle attachment, combine the remaining sugar, salt, melted butter, milk and the yeast mixture and mix on medium speed until combined.
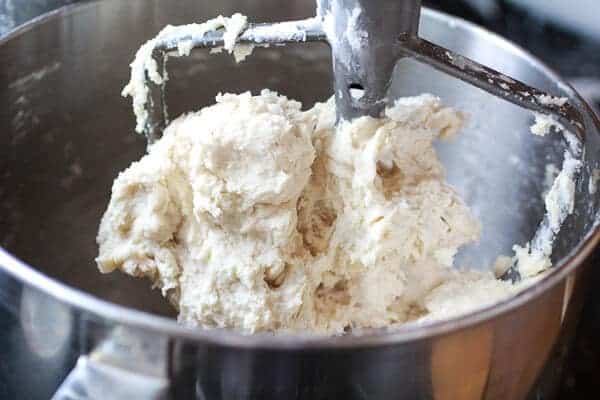
Gradually add the flour 1/2 cup at a time and mix just until the dough comes together in a sticky ball. I ended up using all five cups, but you may need less.
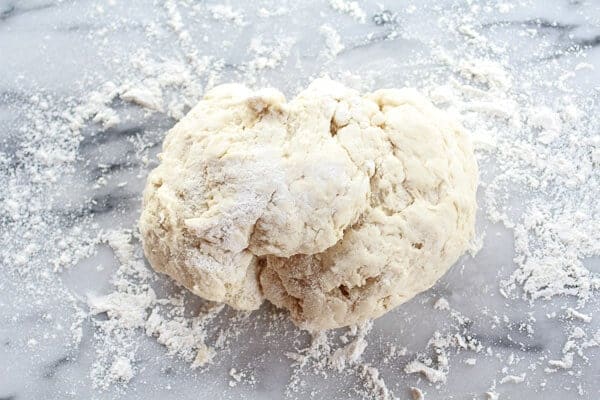
On a lightly floured surface, roll out the dough into a rectangle about 1/2 inch thick. Transfer to a large baking sheet and cover with plastic wrap. Place in the fridge until chilled, about 40 minutes.
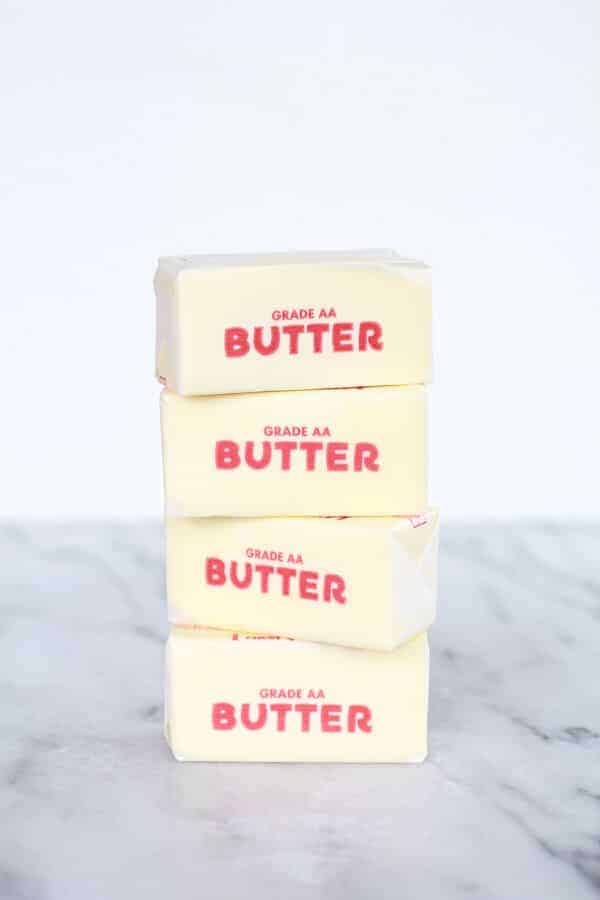
It’s butter time…..
Also, the secret to amazing croissants and also a pain my rear.
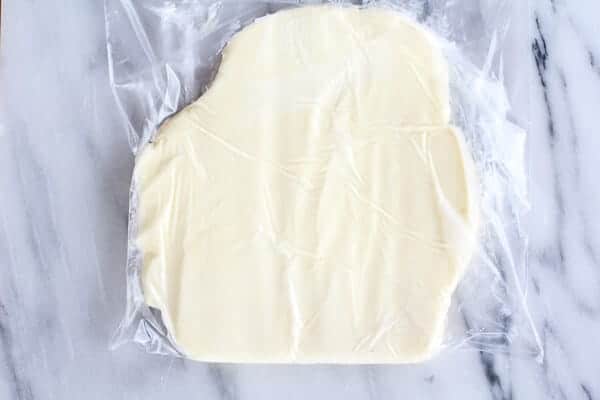
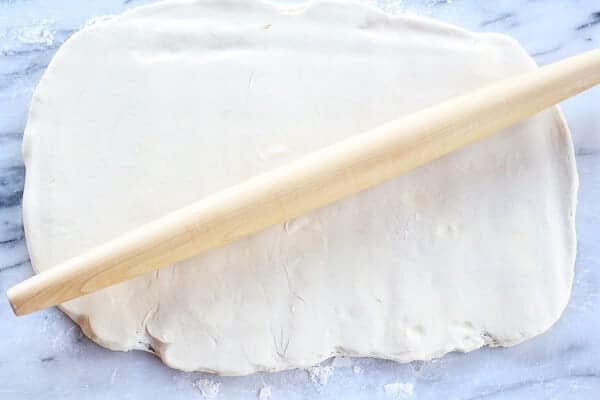
I found it was easiest to place all four sticks of butter together in a gallon size ziplock bag. Then using a rolling-pin, beat the butter on a work surface to flatten it. Continue to gently beat the butter with the rolling-pin and shape the butter into a 6-by-8-inch rectangle. This part was really kind of hard, but just keep working it.
Place the butter back in the fridge and grab the dough (after 40 minutes or so of chilling in the fridge). Now it is time to laminate the dough, which just means fold the dough with the butter to create layers. On a lightly floured work surface, roll out the dough into a 16-by-10-inch rectangle.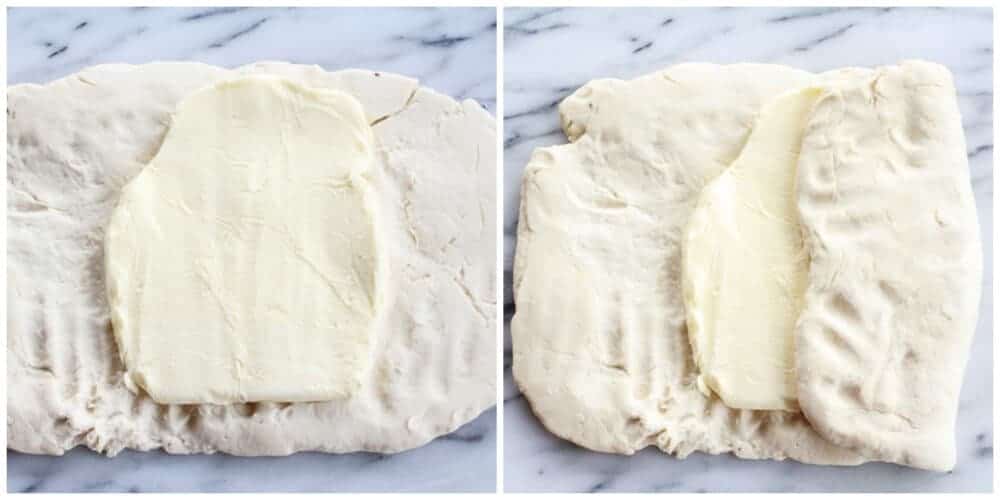
With a short side facing you, place the butter in the middle of the dough. Fold the ends up like a letter. Fold over the upper half to cover the butter and press the edges together to seal. Then fold over the remaining lower half and press the edges together to seal.
Turn dough again so the short side is facing you, and use the rolling-pin to press down equally on the dough to help flatten it. Roll dough into a 15 x 10 inch rectangle.

Then fold the dough like a letter again, with a short side facing you, fold the bottom third up, then fold the top third down. Use your hands to pull the dough into a rectangle shape. You should now have a roughly 11 x 6 inch rectangle. This completes the first turn. Wrap in plastic wrap and place in the fridge to chill for 45 minutes.
Return the chilled dough to the lightly floured work surface with a folded side to your left and repeat the process to make 3 more turns, rolling, folding and chilling the dough each time, for a total of 4 turns. After the final turn, refrigerate the dough for at least 4 hours or overnight (I chilled mine overnight).
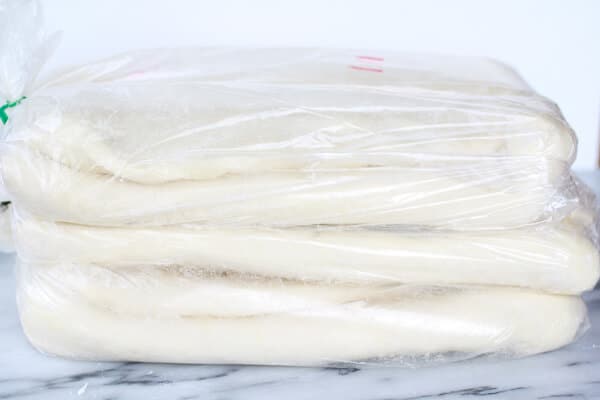
That photo above would be all three of my batches…..
What was I thinking?
In over my head.
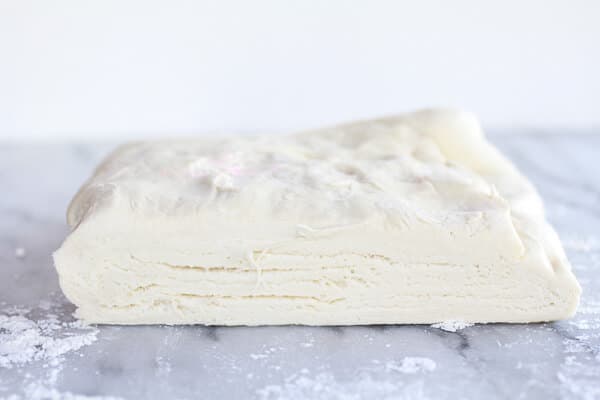
Now it’s time to form the croissants. Divide the dough in half and place one half in the fridge while working with the other half. Hopefully your dough will look like the photo above, with layers of dough and butter. If not? Pray for the best! Roll out one half of the pastry on a lightly floured work surface into a 9-by-18-inch rectangle. Using a pizza cutter or sharp knife cut the dough in half lengthwise, and then cut the dough into triangles.
Roll out one half of the pastry on a lightly floured work surface into a 9-by-18-inch rectangle. Using a pizza cutter or sharp knife cut the dough in half lengthwise, and then cut the dough into triangles. 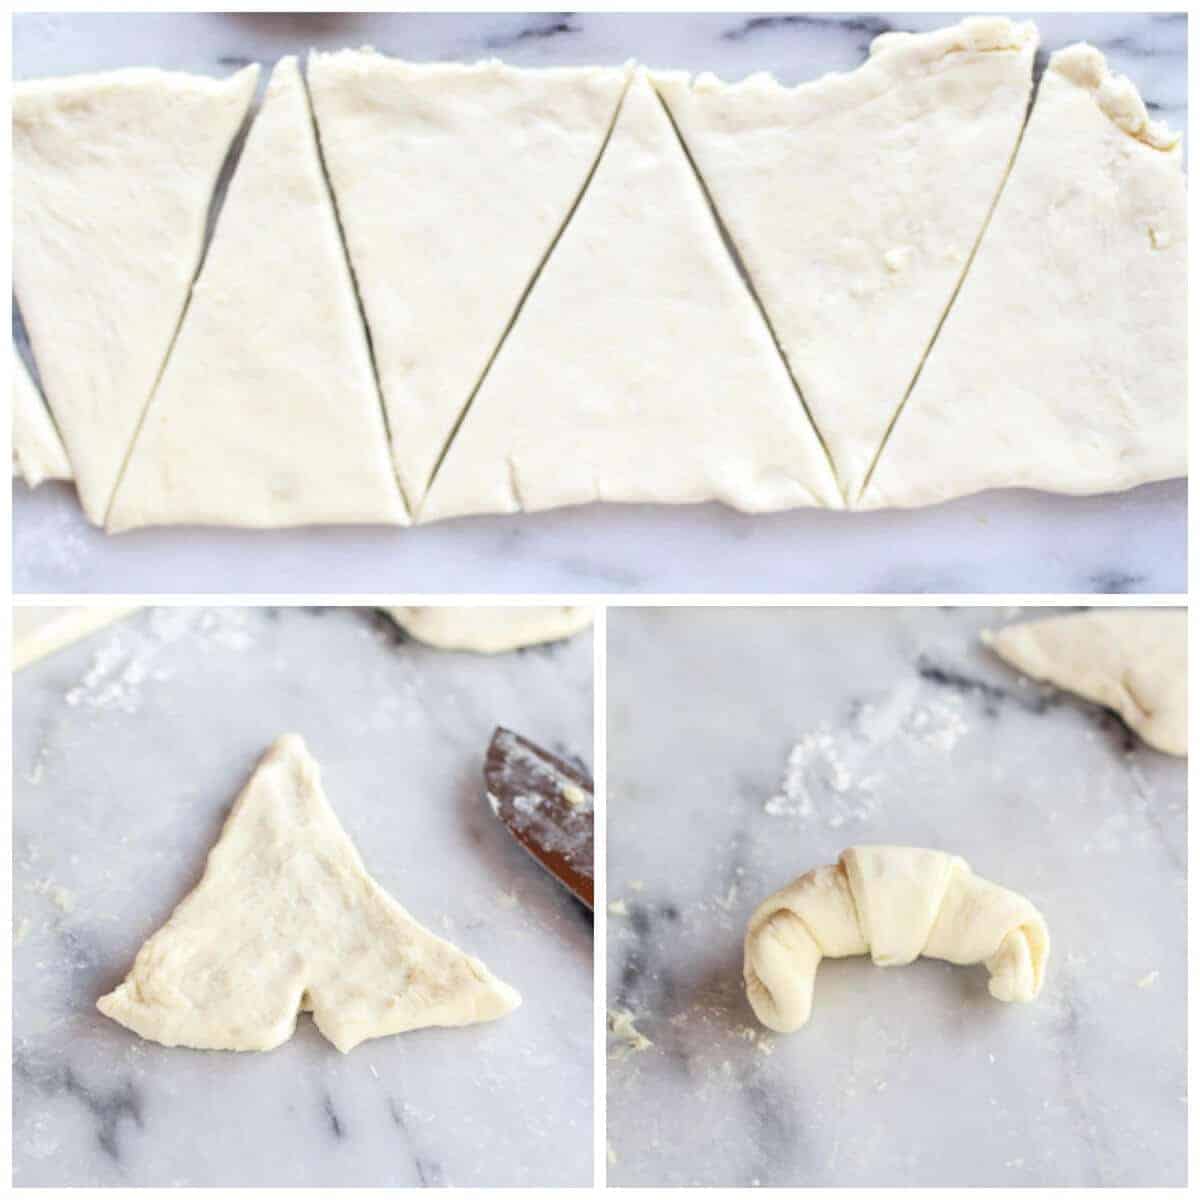
Cut a small vertical slit right into the middle of the straight end, and using both hands, roll croissant up pushing the sides out to either side. Place on a baking sheet about 2-3 inches apart, cover with a towel and set in a warm place to rise for 1-2 hours. The croissants will not double in size like other yeast doughs do. After one hour position a rack in the middle of the oven and preheat to 425 degrees
Lightly brush the tops of the pastries with the egg mixture. Bake the pastries, 1 sheet at a time, until golden brown, 15-18 minutes. Transfer to a wire rack and let cool on the pan. DEVOUR

Or, you can also stuff the croissants with fun fillings. I did chocolate, chocolate peanut butter, cinnamon sugar and cinnamon sugar pumpkin.
All so incredibly good.

And so incredibly flakey.
It’s all those layers of butter.

Perfect with a smear of thick homemade pumpkin butter (I have never had the Trader Joe’s stuff, but I think homemade is always better) or apple butter or jam or just more butter!
Or even all by themselves fresh from the oven. So good.

Or with…

Some chocolate.
Obviously, that one had to happen. As I said, I also did chocolate peanut butter and cinnamon sugar, but stupidly I only made two of each of those and they were gone the second they came out of the oven.
Killer.
The fourth one was cinnamon sugar pumpkin, the photo below. I think this one was my favorite. Perfect for fall, yes, but I just love these flavors. It was epic.
Make-ahead: Pause after shaping. Freeze on a sheet until firm, then bag. Thaw in the fridge, then proof until puffy before baking.
Leftovers: Keep covered at room temp; re-crisp briefly in a warm oven until the exterior is flaky again.
Freezing baked: Wrap well; reheat from thawed until the crust crackles.

Nutritional information is only an estimate. The accuracy of the nutritional information for any recipe on this site is not guaranteed.

So worth it.
As Seen In


So I prepared the dough and gave it in the fridge for an hour ish and now it’s time to add the 6×8 butter rectangle. I have it folded up but the butter is too hard to roll it into the dough. Should the buyer be slightly softened first?
Thank you so much! It’s my first time making croissants.
Hi Maggie,
Thanks for giving the recipe a try! You could let the butter soften just slightly to get it to a workable point. I hope this helps! xx
How could I make these into gorgeous almond croissants, similar to ones I’ve discovered at a local Parisian bakery? They have a soft almond paste/filling once you sink your teeth into the middle, slivered almonds atop, and are boxed or served at the cafe with a sprinkling of powdered sugar. To die for completely, and I would blow my own mind if I could pull them off alongside you;)
Hey Solange,
So sorry, I’ve never made an almond croissant before, but they sound delicious! Might have to add to my list:) xTieghan
Hi Tieghan,
This recipe was challenging but super rewarding at the end! I wonder why you chose unsalted butter?
Hi Marilyn,
Wonderful!! Thanks a lot for giving this recipe a try, I love to hear that it was a winner! The recipe is super old, when I make it now, I use salted butter:) xTieghan
Hi Tieghan
It’s been long since I wanted to try baking croissants because stored bought are expensive, oh boy what great work it was making them but all worth it at the end. They came out perfectly, about 40 because the 1st batch was small but I got the hang of it and made even bigger ones on the third batch. My family loves them, hope to make more, someday…… thank you for the great recipe.
Hi is the butter unsalted?
Also is it all purpose flower?
Would almond milk work do I need regular milk?
Hey Kellie,
I like to use salted butter and all purpose flour. Almond milk will work just fine:) I hope you love the recipe, please let me know if you give it a try! xTieghan
Fantastic. Everything worked out great for me and your pics and instructions were very helpful.
Thanks for a terrific recipe
Hey Marianne,
Happy Monday! It’s so great that this recipe was enjoyed, thanks a bunch for giving it a go! xTieghan
This is a very bad “croissant”. Why is everyone giving 5 stars for something that is truly bad?
Hey Ashley,
Did you try the recipe? Was there something you needed help with? Let me know, I am happy to help figure out what may have went wrong! xTieghan
i will love to try this
Hey James,
I hope you love this recipe! xTieghan
Turned out spectacularly the first time. Buttery and flaky and delicious. Thanks so much !
Thank you Rob! xTieghan
I have been wanting to try homemade croissants for so long, and I appreciate how easy you make everything look. Thank you for including so much detail in your writing, but if you ever get a chance or want to revisit an old HBH recipe, I would love to see a video of the turning process! Can’t wait to try this with your almond berry filling!
Thank you so much Sumera! I hope you love this recipe if you have not tried it yet! xTieghan
Oh my God that recipe looks so delicious I can’t wait to try it myself my son got me a KitchenAid mixer last Mother’s Day and it’s the best present I ever got in my life but I haven’t had time to really use it so now I’m at a time in my life where I want to get into all that stuff big stuff for my family friends holidays so thank you for having such fantastic recipes
Thank you for this .. can’t wait to make them .. one small question about freezing … do you shape a proof the croissants before freezing?
Thanks
Hi Susanna,
You can shape the croissants before freezing. I hope you love the recipe, please let me know if you have any other questions! xTieghan
They look amazing, definitely going to try these. What kind of yeast did you use, rapid rise, instant?
Hi Lynn,
I used instant yeast. I hope you love the recipe, please let me know if you have any other questions! xTieghan
I am dying to make these and impress my family! Do you think cold almond milk would work? Thank you!!
Hello! i just completed the recipe. i followed it to a T. i still had chunks of butter in my dough… i rolled out all 4 times. did i mess something up? are there supposed to be no chunks of butter i the dough?
Hey Kristin! The dough should have small chunks of butter speckled throughout. It sounds to me like the dough was perfect! How did the croissants turn out? Please let me know if you have any other questions. I hope you love this recipe! Thank you!! xTieghan