This post may contain affiliate links, please see our privacy policy for details.
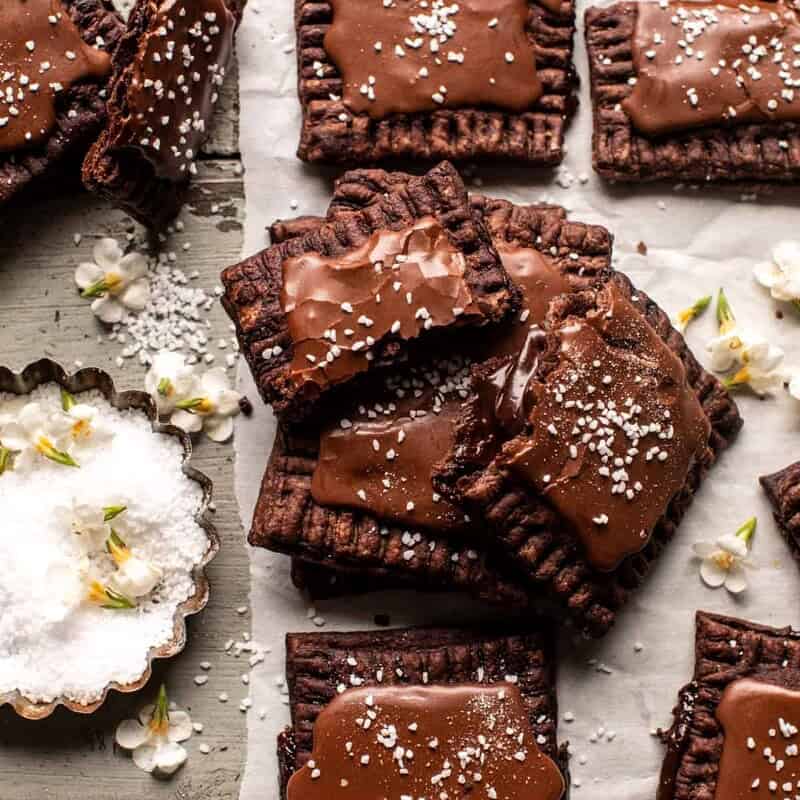
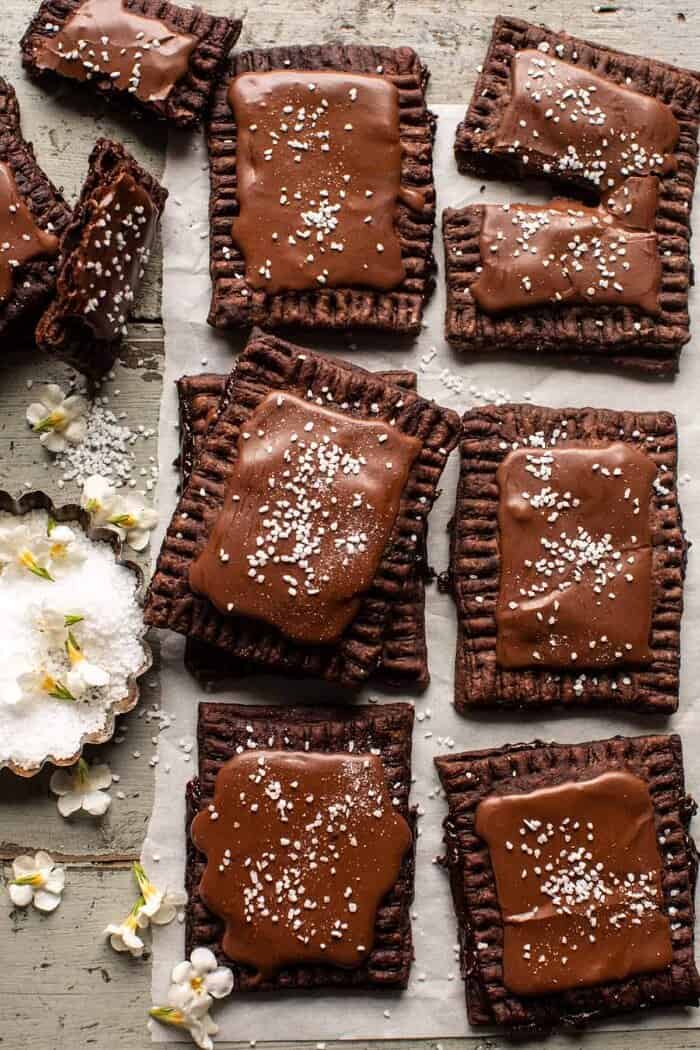
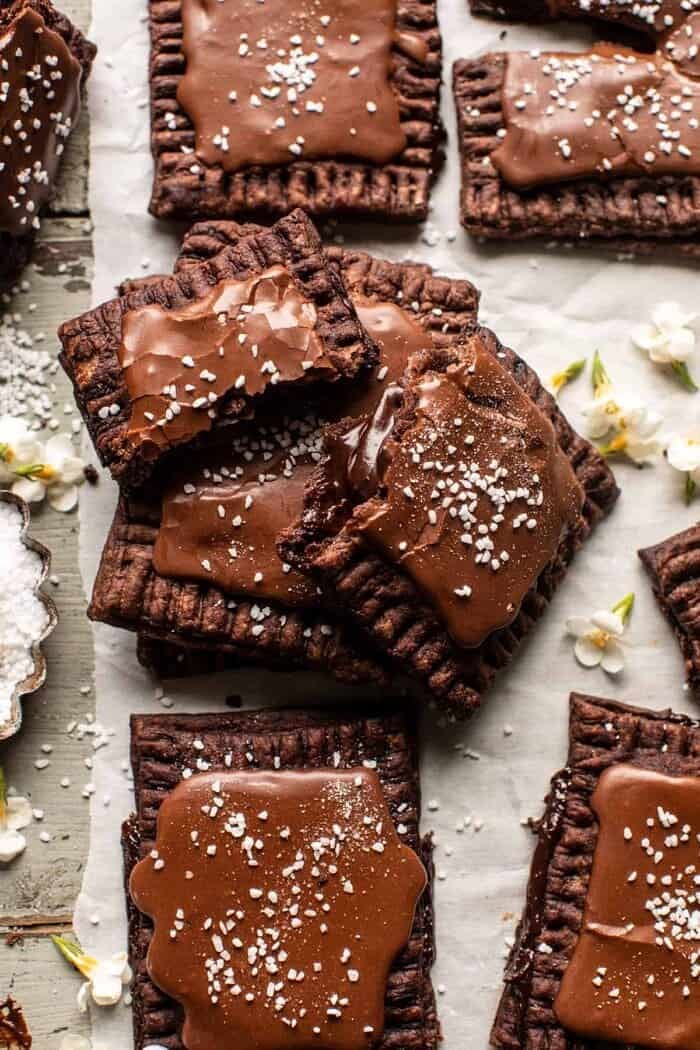
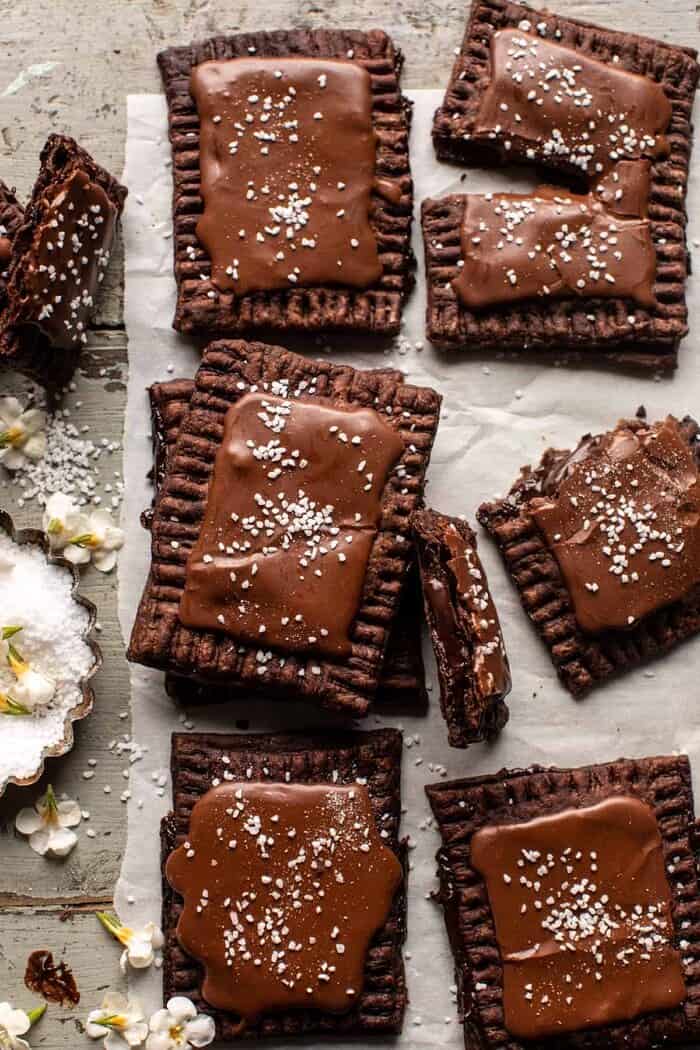
Channeling the inner child in us all with these (better than store-bought) Homemade Chocolate Fudge Pop Tarts. Easy homemade chocolate fudge sauce stuffed between two layers of chocolate sugar cookie dough, baked until toasted, and finished with a sweet milk chocolate frosting. These chocolate pop tarts are flaky, fudgy, and heavy on the chocolate. Finish each mini tart with a sprinkle of coarse sugar or pretzel salt for that classic “pop tart” look. Every bite is roll your eyes back delicious!
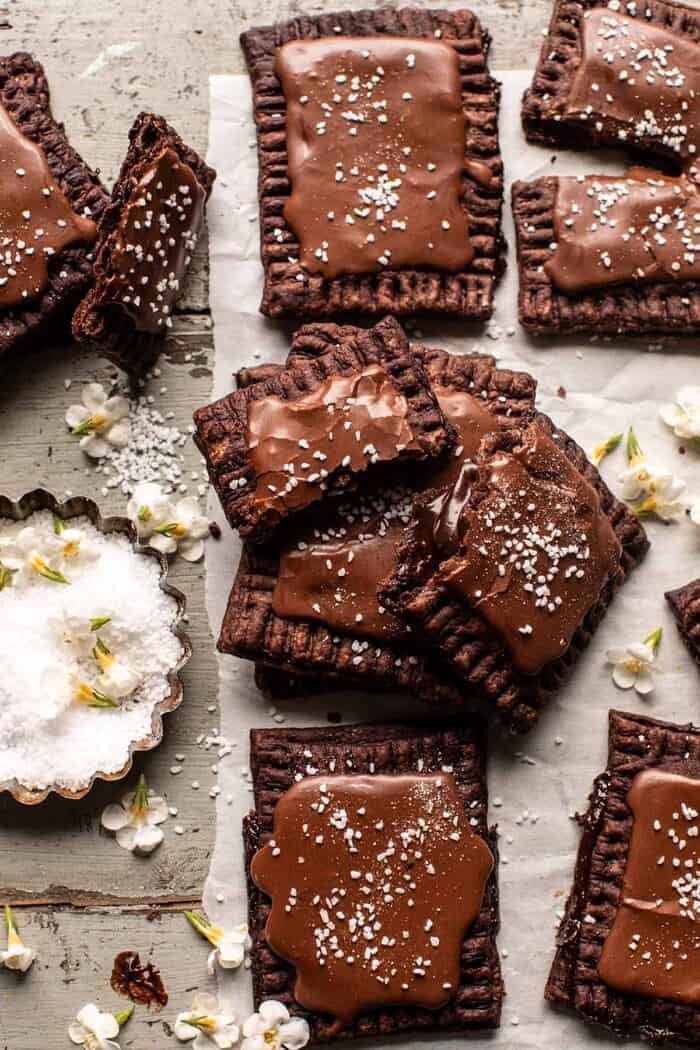
You guys, today is a special, special day. We have homemade chocolate fudge pop tarts to talk about!
And best of all? They take us back to the carefree days of being a kid, and that’s something we should all embrace right now. Less stress, more baking, and plenty of chocolate. Yess!
But really, what was your favorite pop tart flavor growing up? I only ever ate the chocolate fudge pop tarts and left anything berry-filled in the dust. It was always chocolate for me. What about you guys? Dying to know!
Funny enough these pop tarts are a very, very old HBH recipe that I pulled back into my kitchen and perfected. With everyone home right now baking up a storm, I figured these would be a fun weekend project with a beyond delicious outcome. Soo…these homemade chocolate fudge pop tarts are here to keep us entertained and well sugared-up this weekend.
I am excited!
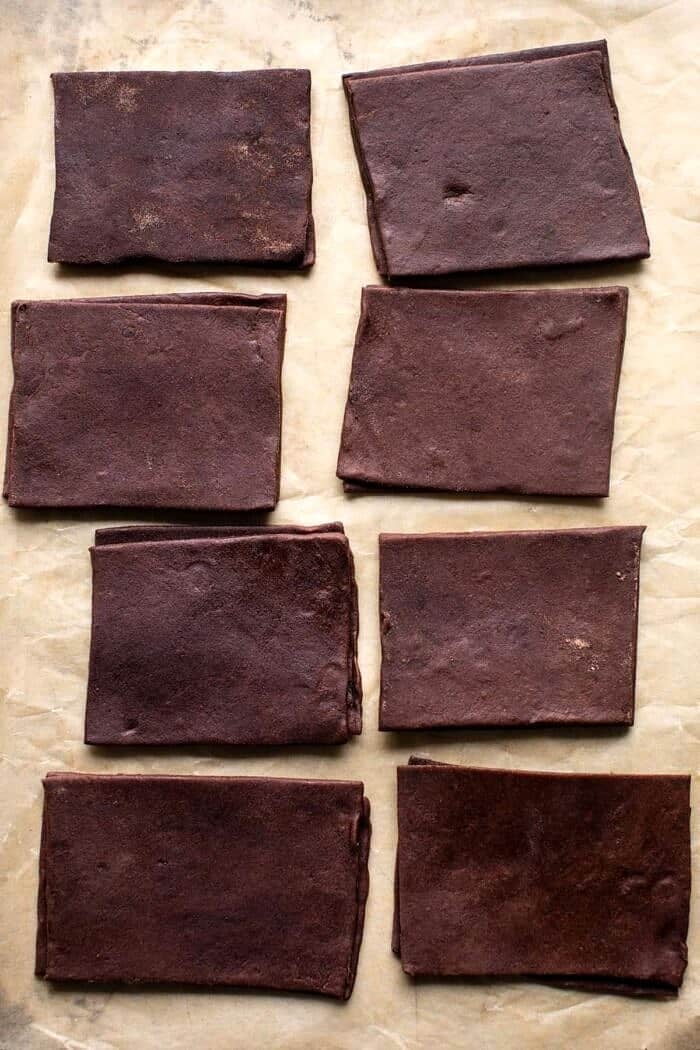
(chocolate dough before adding the fudge sauce)
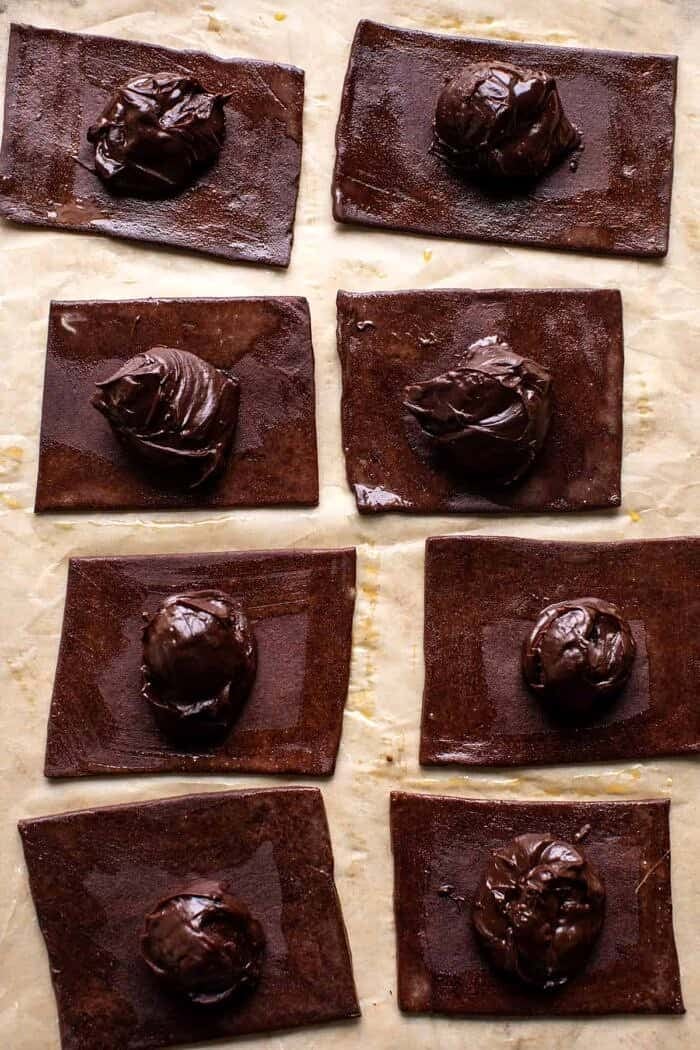
Now, onto the process…
Because I have many words to share about these pop tarts.
Start with the chocolate fudge sauce. This is a simple mix of cocoa powder, sugar, milk, and chocolate chips. It’s melted together on the stove until it just begins to bubble up and thicken. Once the sauce starts to thicken, remove it from the heat and add a touch of butter for richness, and a splash of vanilla for the best flavor.
Simple, but so darn good. This sauce is rich, creamy, and perfectly sweet.
The key is to let the sauce firm up before you begin assembling the pop tarts. It’s should be thick and spreadable.
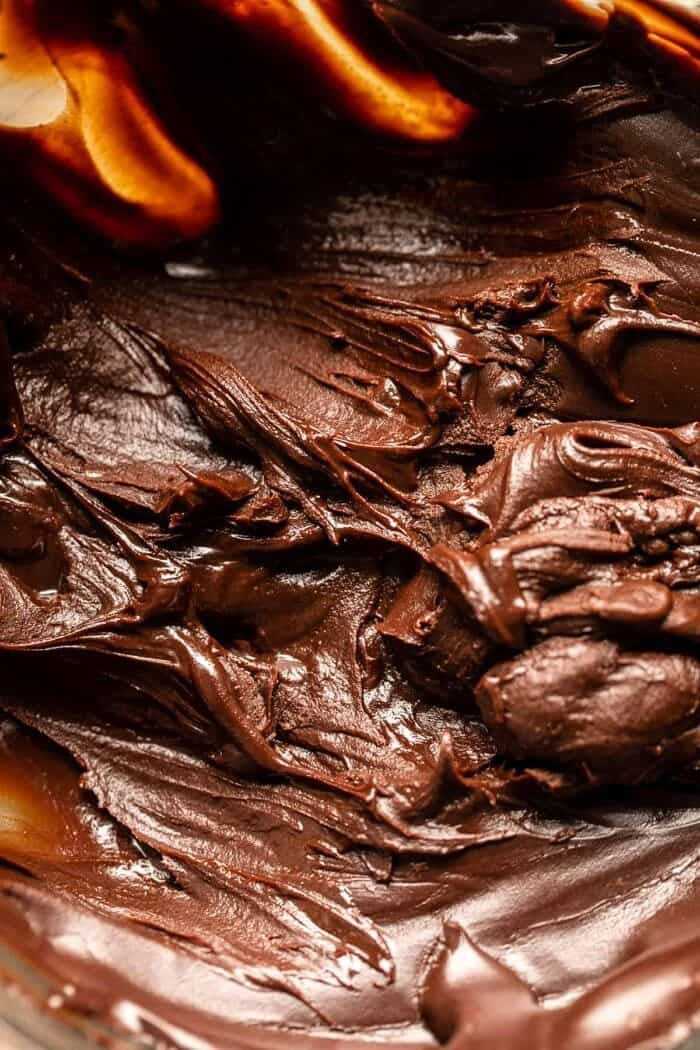
While the sauce chills, make the chocolate sugar cookie dough. If you can make cookies and roll them out, you can make this crust. It’s just flour, cocoa powder, sugar, plenty of salted butter, and ice-cold water. I like using the food processor to easily mix the dough, but you can simply use your hands as well.
Once the chocolate fudge sauce is chilled, roll the cookie dough out and cut into rectangles. Spread a bit of the fudge sauce over half of the rectangles, leaving a small border around the edge of the dough. Now, the next step is important. Brush the borders of the rectangles with the egg, then add the top piece of dough to enclose the filling. Using the tines of a fork, crimp the edges around the tarts to seal all that fudge inside.
Again, using the beaten egg is really important. It ensures that all of the chocolate fudge sauce stays inside of the pop tarts while they bake. For my first test round I skipped the egg and all of the sauce leaked out of the tarts. It was not good.
Bake the pop tarts up and twenty minutes later you’ll have homemade chocolate fudge pop tarts!
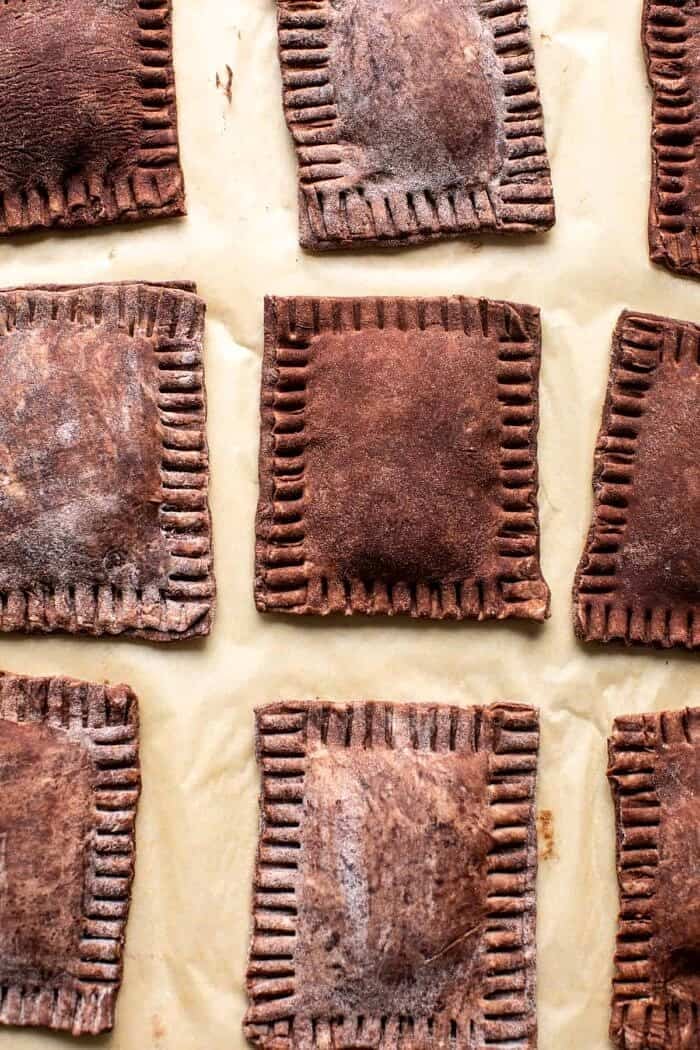
But, they need frosting…
Yes, they do need frosting….well they actually don’t NEED the frosting. They would still be good without. But in my opinion, the frosting is key. It’s what takes them to GREAT!
Plus, as I mentioned, I wanted these to be as close to the original version as possible.
The frosting is just a mix of powdered sugar, cocoa powder, vanilla, and melted milk chocolate. Simple ingredients that when combined together are so very delicious.
Now, if you wanted a shiny, glossy finish to your pop tarts, use a couple of tablespoons of either meringue powder or add one egg white into the frosting. Using meringue powder will give your frosting shine. It helps it to nicely set up and dry so that the frosting doesn’t smudge when touched. This is completely optional and honestly, I don’t often take the extra effort. But I did want to make the note to you all that this is certainly an option. It will give your pop tarts a more authentic pop tart look.
Once you’ve mixed the frosting, and the pop tarts have cooled, simply frost each tart. Let the frosting stiffen a few minutes, then sprinkle with either Swedish pearl sugar or a coarse salt. I like to use pretzel salt. It’s delish and adds a salty crunch with every bite.
Let the pop tarts harden…or enjoy them right away…so delish!
So the real questions you’re all wondering?
Can you toast these? Honestly, no I would not recommend it. Well, if you leave the frosting off of the pop tarts, then yes, you can easily toast these in the toaster. But if you frost the pop tarts, I wouldn’t toast them.
Do these taste just like real, store-bought pop tarts? Actually, they do…but they’re also better. Better because they have real ingredients and real chocolate flavors. And if you’re like me, add that sprinkle of sea salt for a touch of saltiness too.
Trust me here. These are GOOD, so much better than the stuff from the store that comes in a box.
So with that, let’s all agree that this weekend’s quarantine project should be pop tart baking and eating.
What do you say? Personally, I think this is a great idea. Who’s in?
Nothing not to love about these sweet, flaky, and extra fudgy chocolate pop tarts. Please do make and ENJOY. Excited to see all the pop tarts being made this weekend on Instagram. Can’t wait.
PS. I’ve never had a brown sugar pop tart, but I’m thinking they need to be my next “better than store-bought” recipe. Thoughts?
PSS. Looking for a few other homemade pop tart ideas? Try these…
Homemade Strawberry White chocolate Pop Tarts
Brown Sugar Peach Puff Pastry Pop Tarts
Giant Strawberries n’ Cream Pop Tart
Lastly, if you make these homemade chocolate fudge pop tarts, be sure to leave a comment and/or give this recipe a rating! Above all, I love to hear from you guys and always do my best to respond to each and every comment. And of course, if you do make this recipe, don’t forget to tag me on Instagram! Looking through the photos of recipes you all have made is my favorite!
Homemade Chocolate Fudge Poptarts
Ingredients
Chocolate Fuge Filling
- 1/4 cup unsweetened cocoa powder
- 2/3 cup whole milk or heavy cream
- 1 1/2 cups semi-sweet chocolate chips
- 2 tablespoons salted butter, cubed
- 2 teaspoons vanilla extract
Dough
- 2 1/4 cups all-purpose flour
- 1/4 cup unsweetened cocoa powder
- 1 tablespoon granulated sugar
- 2 sticks (1 cup) cold salted butter, cut into 1/2 inch pieces
- 1 egg, beaten, for brushing
Frosting
- 2 cups powdered sugar
- 2 tablespoons unsweetened cocoa powder
- 1 tablespoon vanilla extract
- 2 ounces dark or milk chocolate, melted
- coarse salt or sugar, for sprinkling
Instructions
- 1. To make the chocolate fudge filling. In a small saucepan, stir together the cocoa powder, milk, and 3/4 cup chocolate chips. Set over medium heat and cook, stirring, for 5-8 minutes, until the chocolate is melted and the sauce has thickened slightly. Remove from heat, stir in the remaining 3/4 cup chocolate chips, the butter, and vanilla until smooth. Transfer to the fridge to cool and thicken, at least 30 minutes.2. Meanwhile, make the dough. In a food processor, combine the flour, cocoa powder, sugar, and butter. Pulse until the mix clumps together to forms pea-size balls. Add 1/2 cup cold water, 1 tablespoon at a time until the dough comes together and forms a ball. If the dough feels dry, add 1-2 tablespoons additional water. 3. Turn the dough out onto a floured surface. Roll out into a 1/8-inch thickness. Cut the dough into rectangles, about 4 x 3 inches. Place a tablespoon of the chilled chocolate fudge on one half of the rectangles, leaving a 1/4 inch border. Brush the edges with the beaten egg. Lay the other half of the dough over the filling and seal the edges by crimping with the back of a fork. Repeat until you've used all the dough, you will have leftover fudge. 4. Place the pop tarts on parchment-lined baking sheets. Cover the baking sheets and place in the fridge for 1 hour or the freezer for 20 minutes. 5. Preheat the oven to 400 degrees F. Bake the pop tarts for 15-20 minutes. The pop tarts will still leak a little. Cool completely before frosting. 6. Meanwhile, make the frosting. In a medium bowl, whisk together the powdered sugar, cocoa powder, vanilla, and 3 tablespoons water until smooth. Stir in the melted chocolate. If your frosting is too thick, thin with 1-2 tablespoons additional water. 7. Spoon a thin layer of the frosting on top of the cooled pop-tarts. Allow frosting to harden 10 minutes. Sprinkle with coarse sugar or salt. Place on a baking sheet and allow the pop tarts to harden, uncovered, about 2 hours. Store in an airtight container for up to 3 days.
Notes
Nutrition
Nutritional information is only an estimate. The accuracy of the nutritional information for any recipe on this site is not guaranteed.
Did you make this recipe? Please rate & comment below.


















These came out soooo good! Love them. Thanks for the recipe!
Thank you so much Anne Marie! I am really glad these turned out so well for you! xTieghan
Phenomenal, loved this! The recipe for me made eight regular sized pastries so I might try it again but make them half the size so it makes more. I had a lot of filling and frosting leftover, so I’ll be repurposing those for something else because they are too good to waste!
Thank you so much Lydia! I am really glad this recipe turned out so well for you! xTieghan
Really great! That filling was to die for. Definitely better than a store bought poptart. My only wish is that it could be toasted!
Thank you so much Katie! You can toast these in the oven! xTieghan
Yes, please, on the brown sugar pop tarts! Those were my favorites!
So glad you like those! Thank you! xTieghan
Hello! I am making these this week and they only had silk whipping cream alternative, do you think that will work?
Hi Erica,
Yes that would be okay to use! I hope you love the recipe, please let me know if you have any other questions! xTieghan
My favorite pop tart growing up was… BROWN SUGAR CINNAMON!! (which incidentally is my favorite flavor of pretty much anything)
Haha that is so amazing! Thank you Mary! xTieghan
Oh, and for a dairy- free option, we used oat milk instead of dairy milk. Turned out totally perfect!!!!
These are AMAZING! Woah, woah, WOAH!! Such a decadent and delicous take on a poptart- like these way more ;-). The patience in allowing them to *fully* cool off before icing and post icing, and even enjoying, make a big difference to the final product. Also, found myself scouring the comments of the recipe because though I used generously, I still ended up with so much extra filling and frosting (recipe says there will be extra choc filling but didn’t mention if we’re to use it?), didn’t know what to do with all of it! Next time I’ll cut down the recipe for those parts. 🙂 This time to use the remainder of those, I made the recipe again, halfing everything and not using chocolate powder at all in the pastry dough (subbed more flour). Added in some almond extract the the dough and made almond flavored white pastry dough to go with the chocolate filling and frosting- YUM! Thanks so much for the recipe <3
Wow thank you so much Emilie!! I am so glad these pop tarts turned out so well for you!! Also, so glad you got to use up the extra filling! xTieghan
Would I be able to assemble the pop tarts a day in advance and then store in the fridge overnight or would you recommend freezing them? Thanks!
We only got 8 pop tarts, not 16? And I made sure we only rolled the dough to 1/8”? In the end who needs 16 pop tarts, that’s ok, but we had a ton of leftover filling. Still delicious!
Hi Marlene,
So sorry about this, will definitely look into it. Thanks for trying the recipe! xTieghan
Mine are in the oven now! This is an amazing recipe and I’m so excited to taste the final product!! Just wondering do you have any tips for what to do with my leftover fillet fudge? I could easily eat with a spoon but want to know if you have any suggestions!
Haha I love that! How about some ice cream?! I am so glad you loved this recipe, Melissa! Thank you! xTieghan
My kids love these! Saved the fudge filling for some ice cream sundaes tonight by the pool.
Amazing!! Thank you for trying this Megan! xTieghan
Do you do anything with the left over filling?
Hi Jenny,
You could save for hot fudge Sundaes! I hope this helps, please let me know if you have any other questions! xTieghan
Made these last night, absolutely delish. I would update the recipe to say up to 1/2 cup ir 1/4-1/2 cup of water in the instructions . I found the dough to be OK after 1/4 of a cup, but second guessed myself and added a bit more since it didn’t seem right that i only needed half the amount written. I ended up having to add extra flour in order for the dough not to be too soft to roll out. Tastes good without the frosting if you prefer a less sweet version.
Hi Janet! I am sorry for the confusion! I am glad this still turned out well for you though! xTieghan
These look soooo good. I’m going to attempt to make these gluten free and dairy milk free. My fave were always the s’mores flavor! So good.
Yes!! Thank you so much Odessa! I hope these turn out amazing for you! xTieghan