Next Post
Haunted Pumpkin Patch Margarita.
Originally published Oct 14, 2022 • Updated May 21, 2025
This post may contain affiliate links, please see our privacy policy for details.
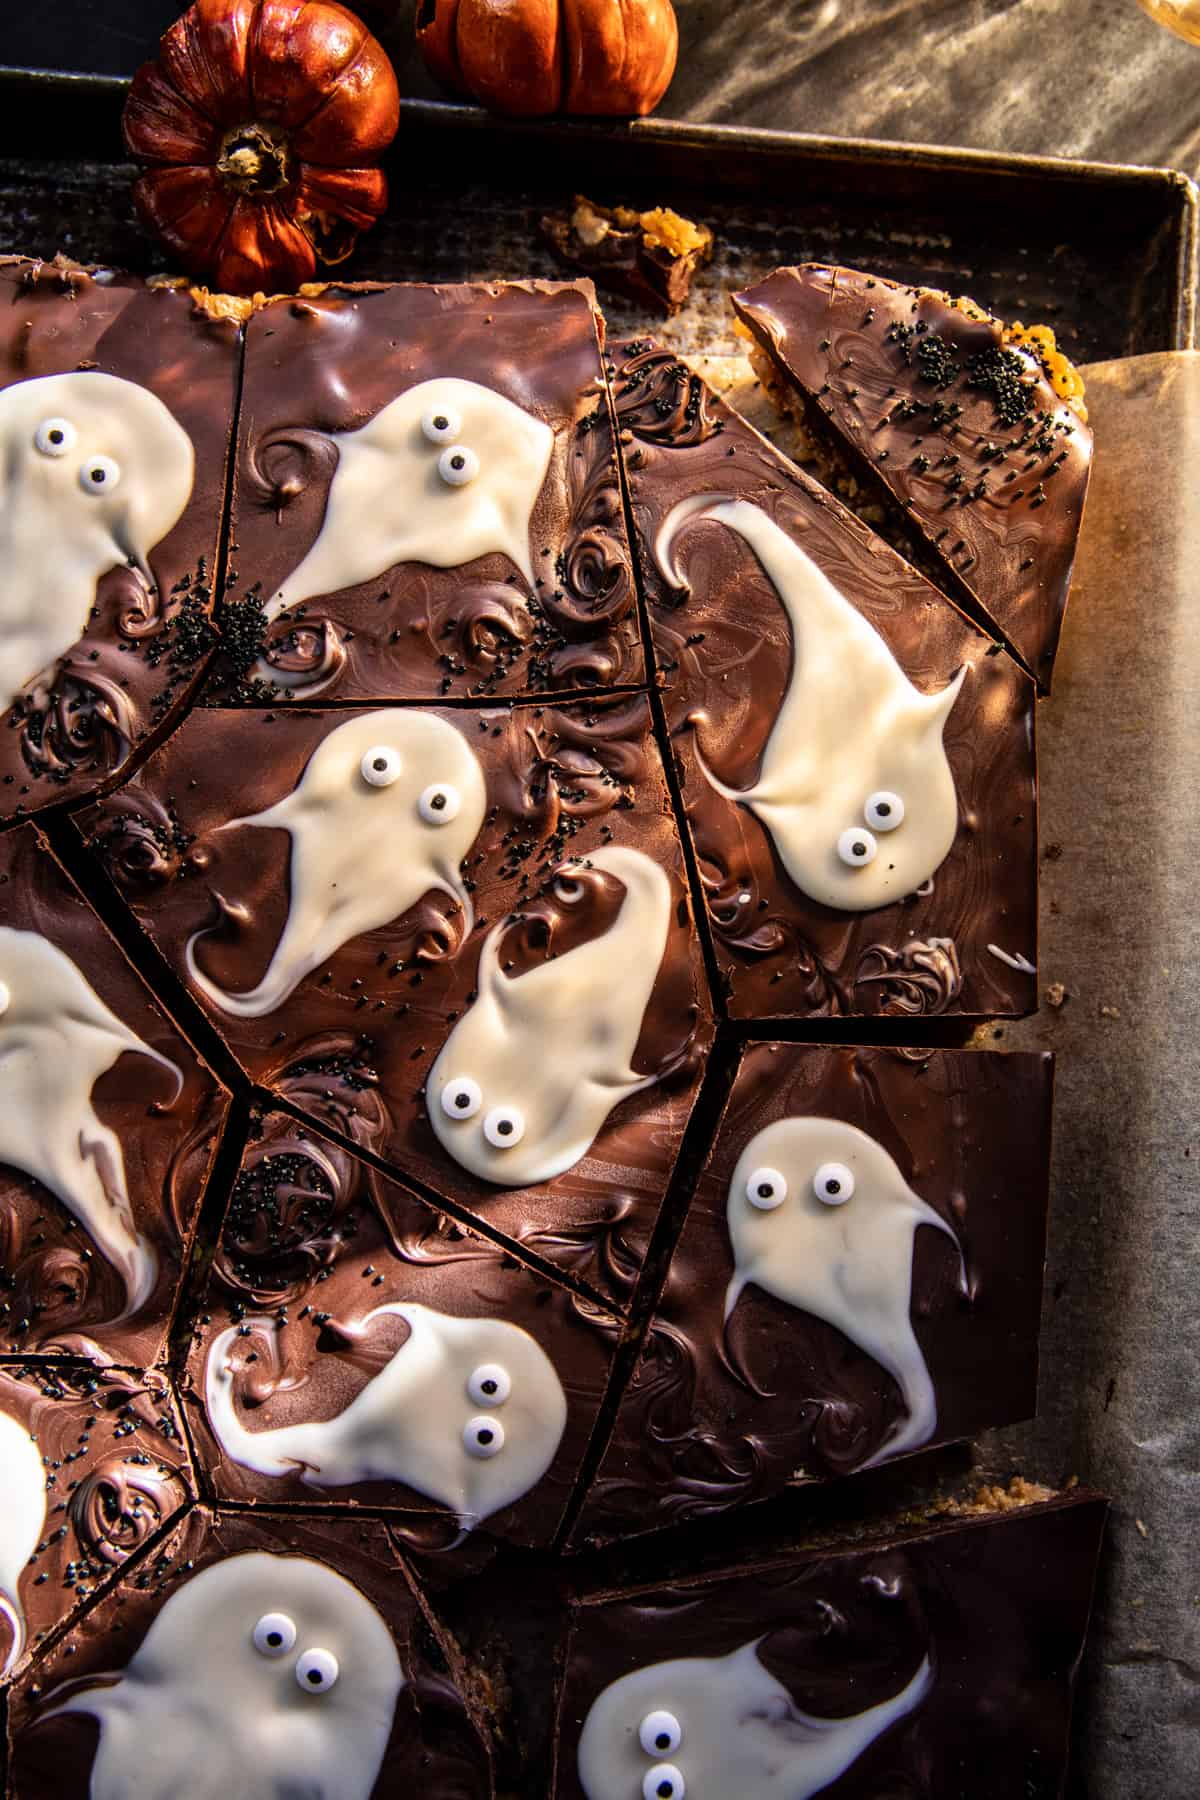
BOO! Chocolate Peanut Butter Bars. You don’t need to be a professional baker to make these deliciously easy homemade Halloween treats. These spooky bars require no oven time, just 7 ingredients, are made without processed sugar, and take almost no effort to make. They’re fun to make no matter your age and you really can’t mess them up!
BOO! I’m so excited! I just love these bars! I make these fun, easy peanut butter bars almost every October. We really love them – both their deliciousness and just how fun and easy they are to create.
This is one of those years where I’m really leaning into the fun Halloween recipes. For whatever reason, there are years when I don’t share as many spooky-themed recipes. But this year, I’m loving every minute. It’s an excuse to have fun and just let the kid in me shine. I think we all need to allow the kid in us to shine a little more these days!
As mentioned, these are made using 7 ingredients, so they’re pretty darn easy. In fact, they’re very similar to my mom’s special K-bar recipe, just made in a fun way for Halloween.
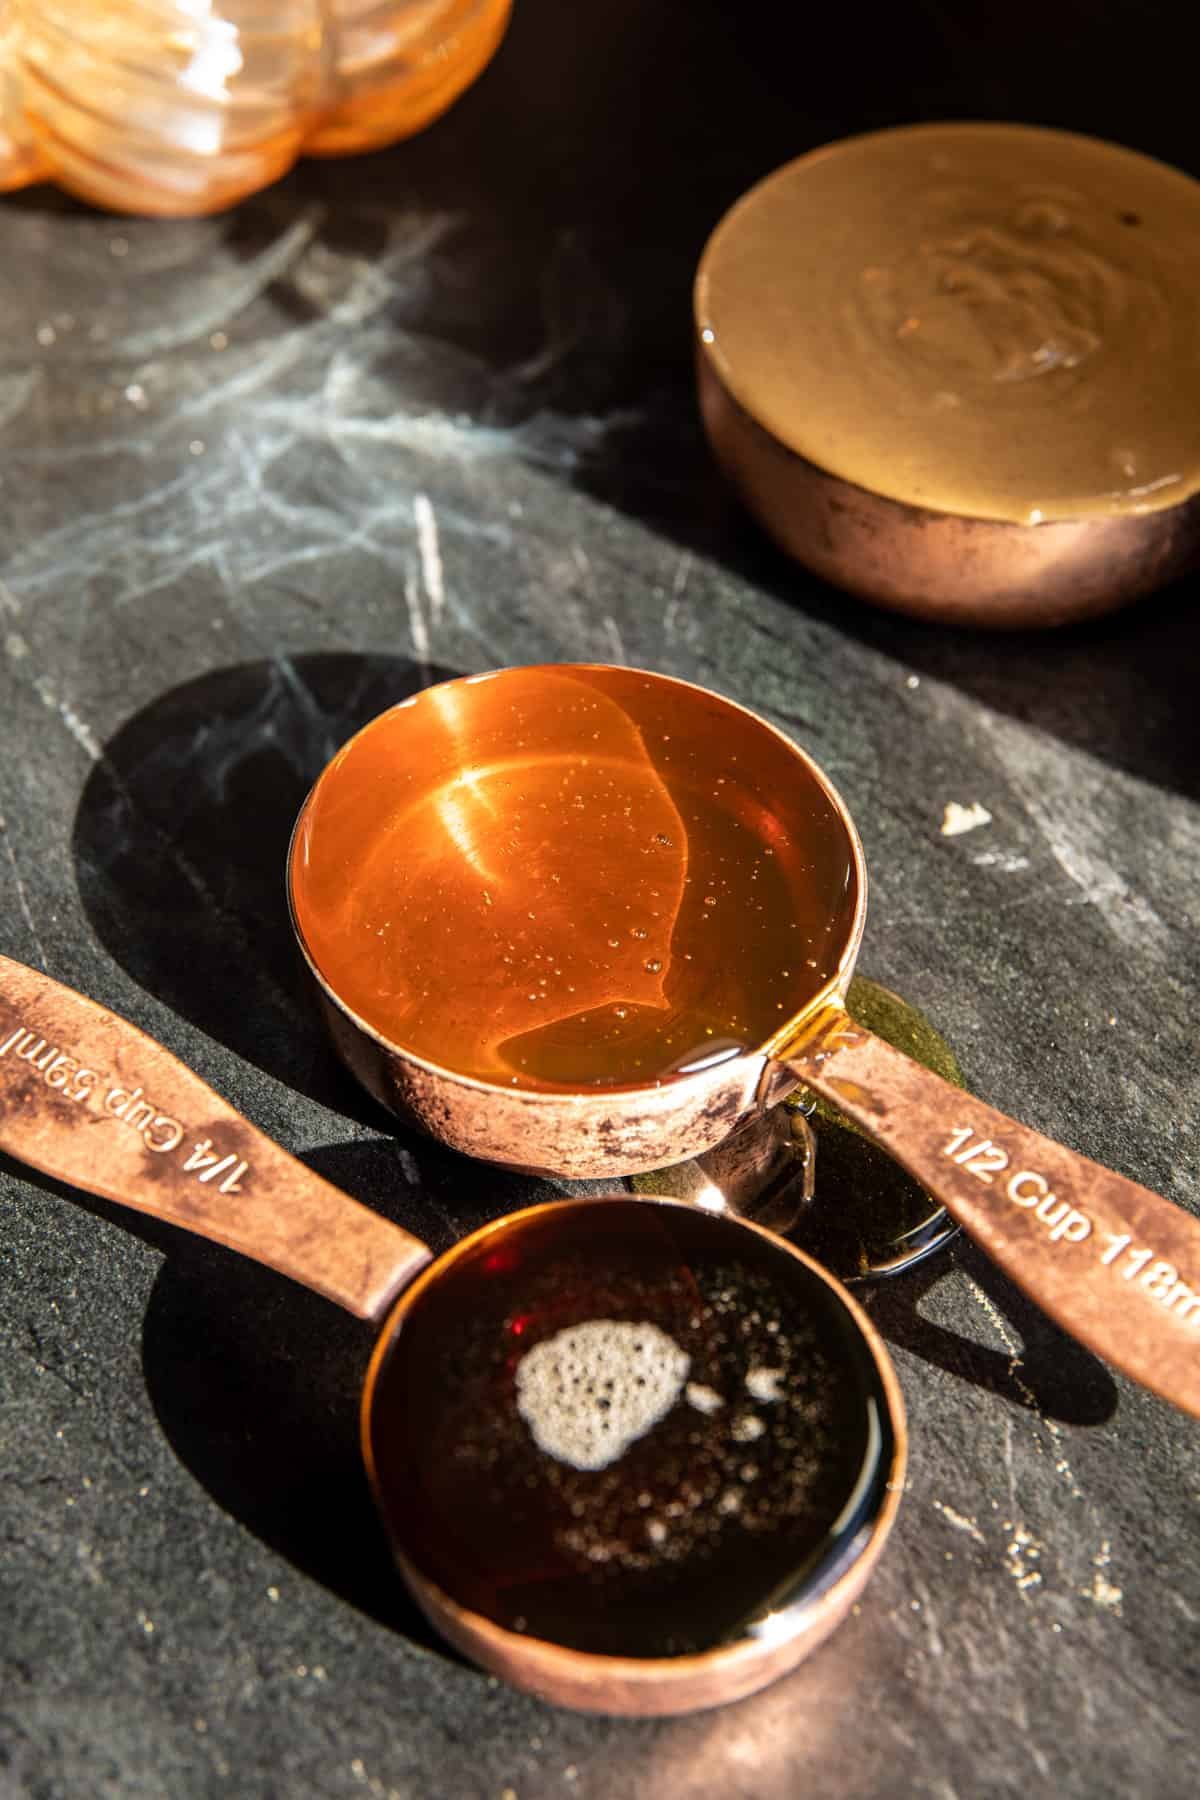
You’ll need honey, maple syrup, creamy peanut butter (I prefer to use organic, no sugar added), chocolate, and white chocolate. That’s it, and no added sugar aside from what’s in the chocolate.
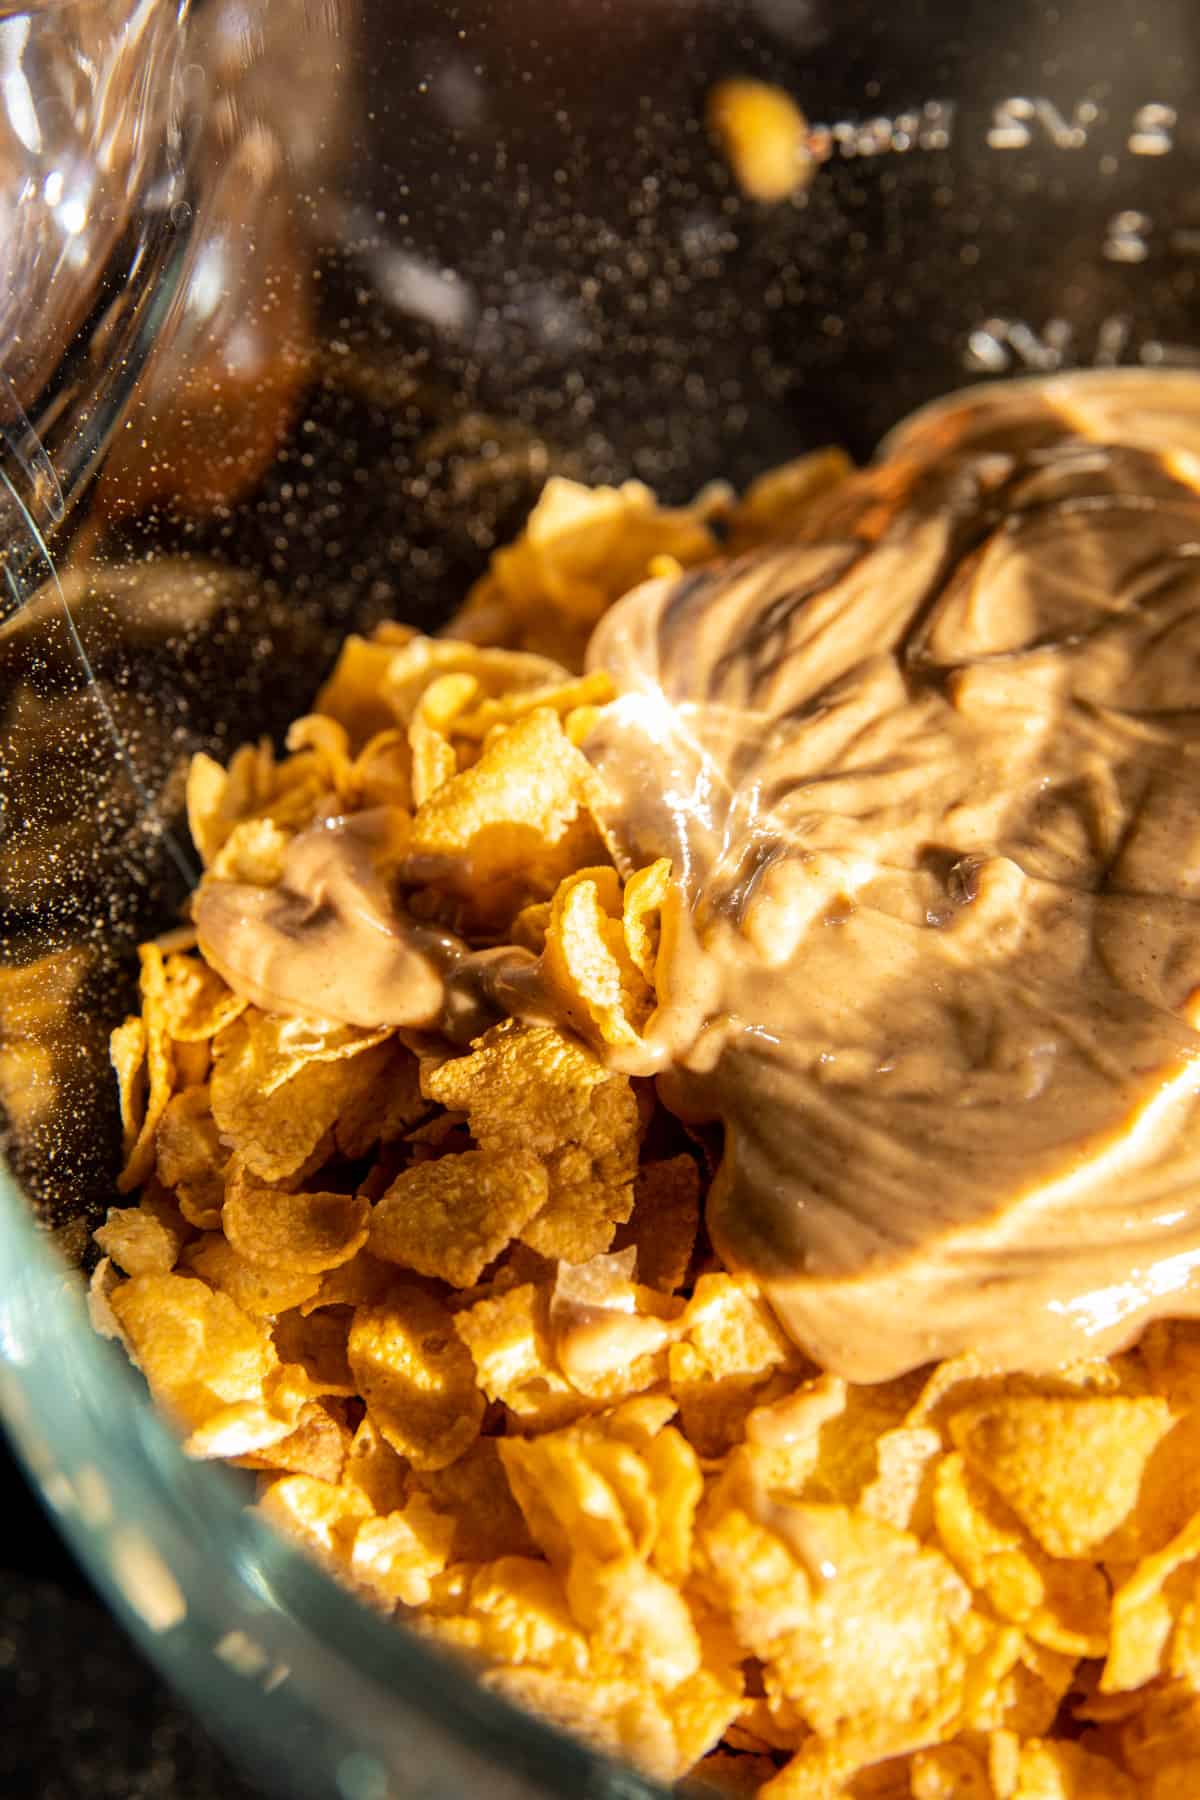
To begin with, grab some corn flakes and brown rice krispies. I love the texture, crunch, and chew of these cereals together. Add the corn flakes and brown rice krispies to a bowl along with the creamy peanut butter.
Boil the honey and maple together. I use honey and maple syrup together for added flavor and the best texture. Boil the mix for 2 minutes, then pour it over the bowl full of cereal and peanut butter. Mix everything together until all is evenly coated.
Spread the mix out into a baking dish, then throw it in the fridge while you melt the chocolate.
For the peanut butter, I recommend using an organic, no-sugar-added peanut butter – as in just peanuts and sea salt. No Jiff, or any other kinds of no-stir peanut butter that contains oil and/or sugar. You just want natural peanut butter. This will give you the best flavor and texture. But I mean, of course, if all you have is Jiff or Skippy, it all works!
Melt the chocolate, then pour the melted chocolate over the bars and spread it out in an even layer.
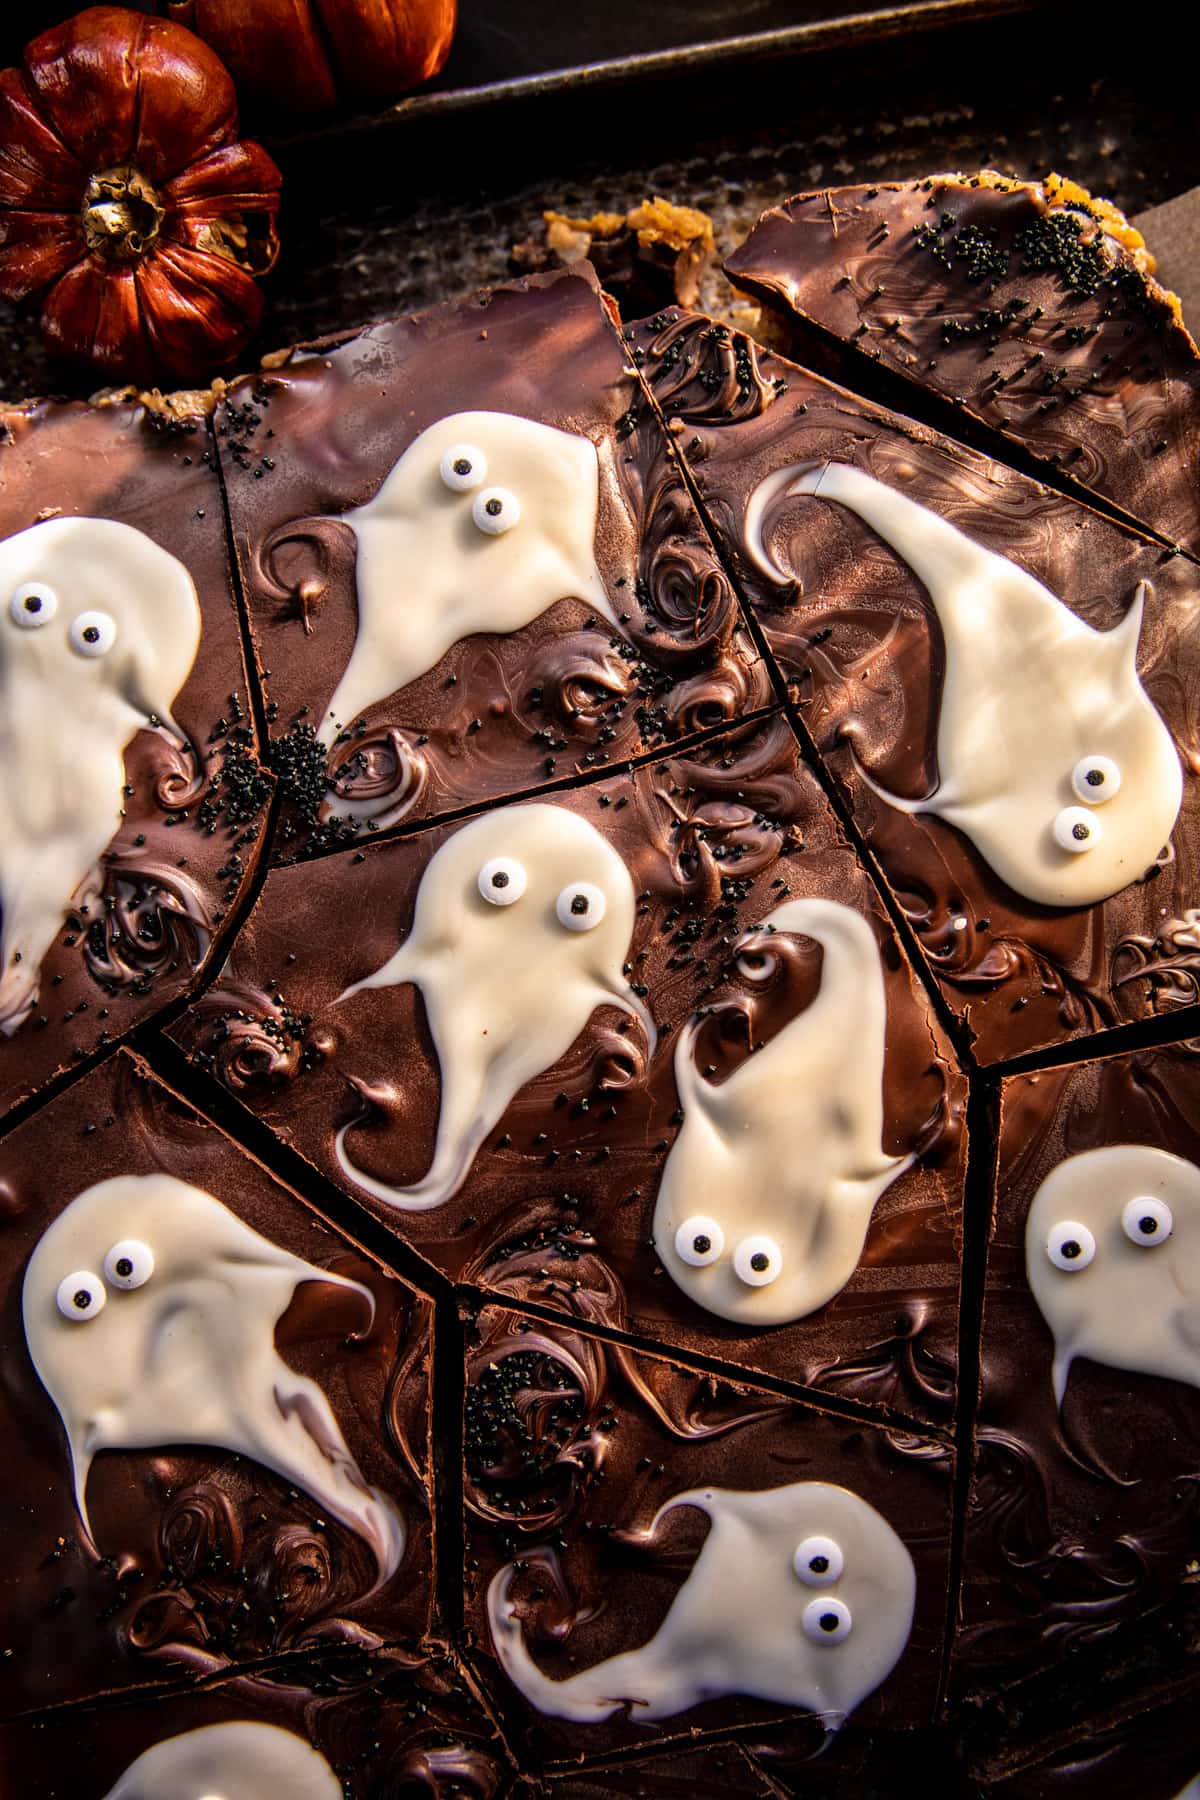
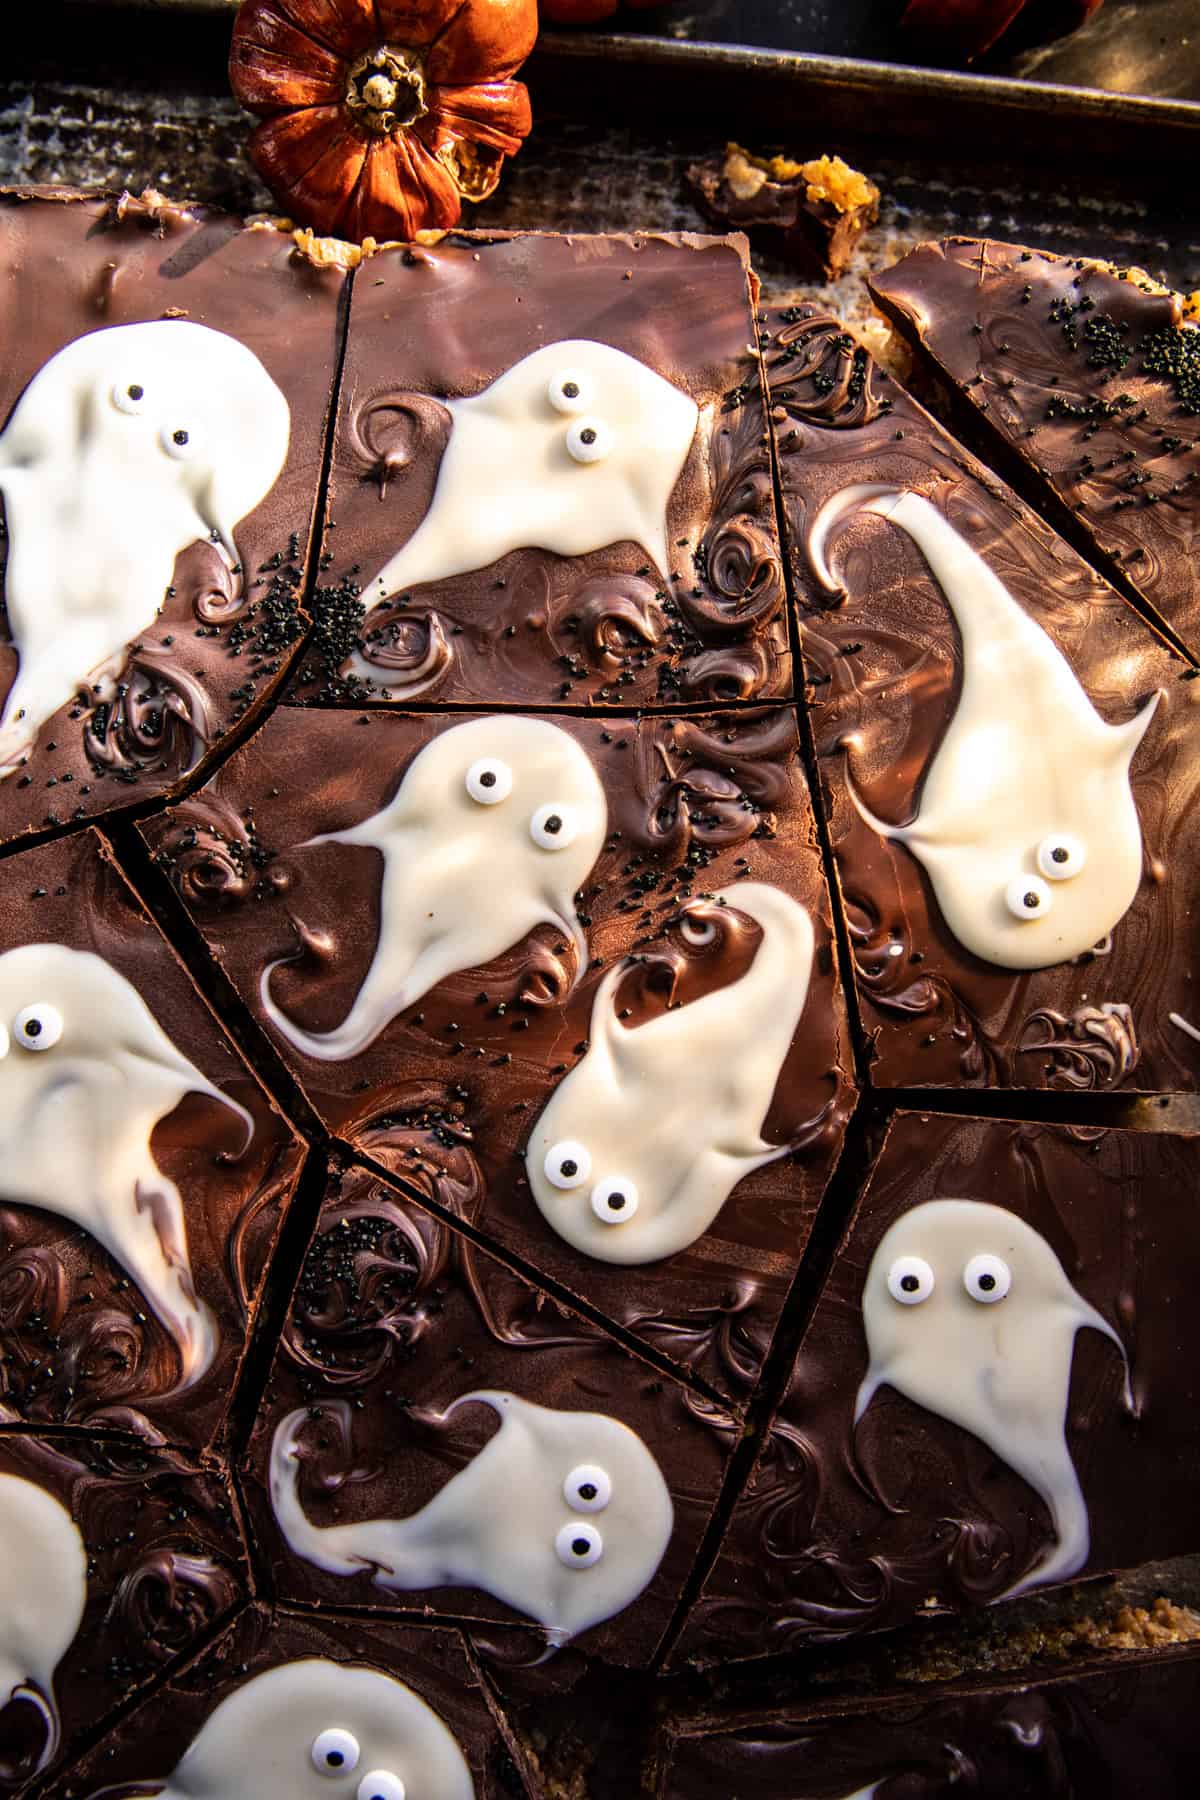
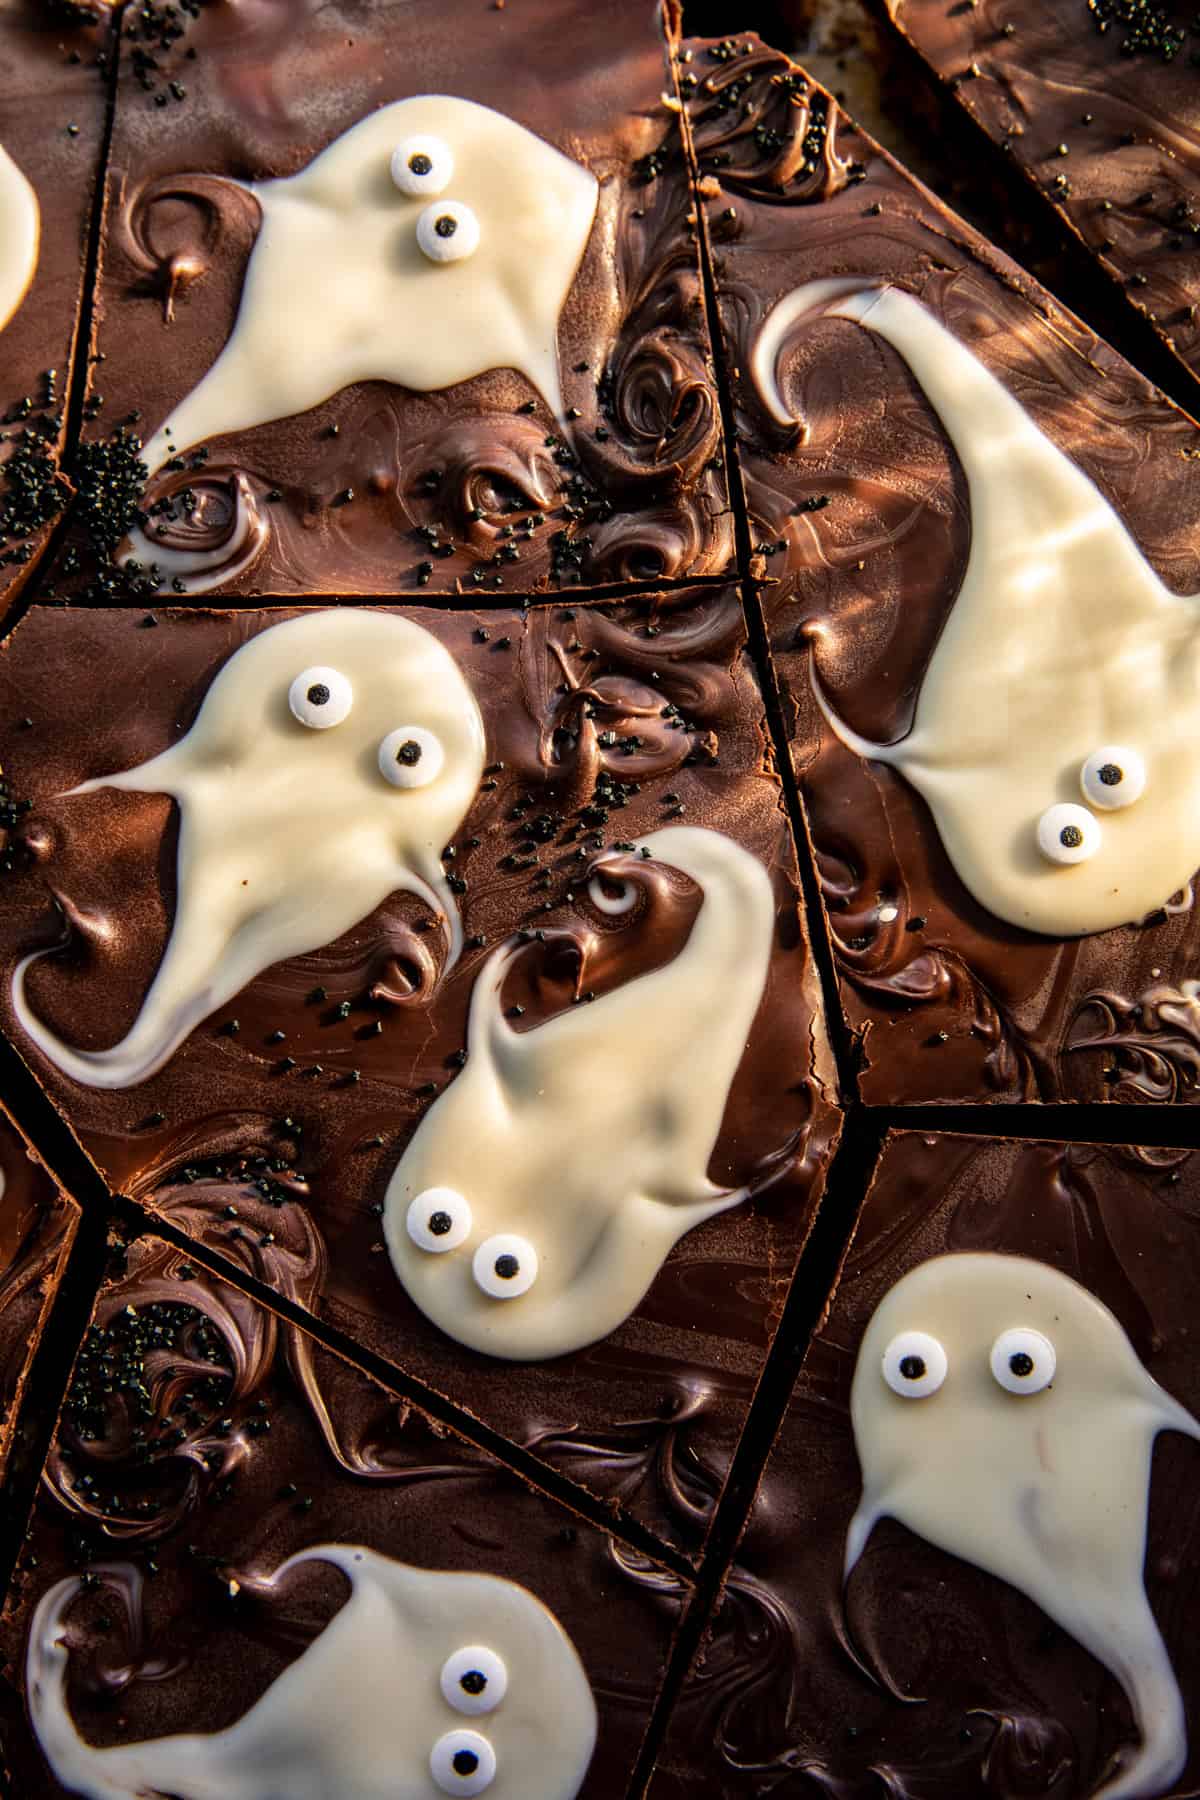
Take the melted white chocolate (use high quality, trust me it makes a difference) and dollop it over the chocolate in teaspoon and tablespoon sizes. Next, use a skinny skewer or the end of a skinny spoon and gently pull the white chocolate down to create a “ghost” shape. Then use mini candy eyes or sprinkles for the eyes.
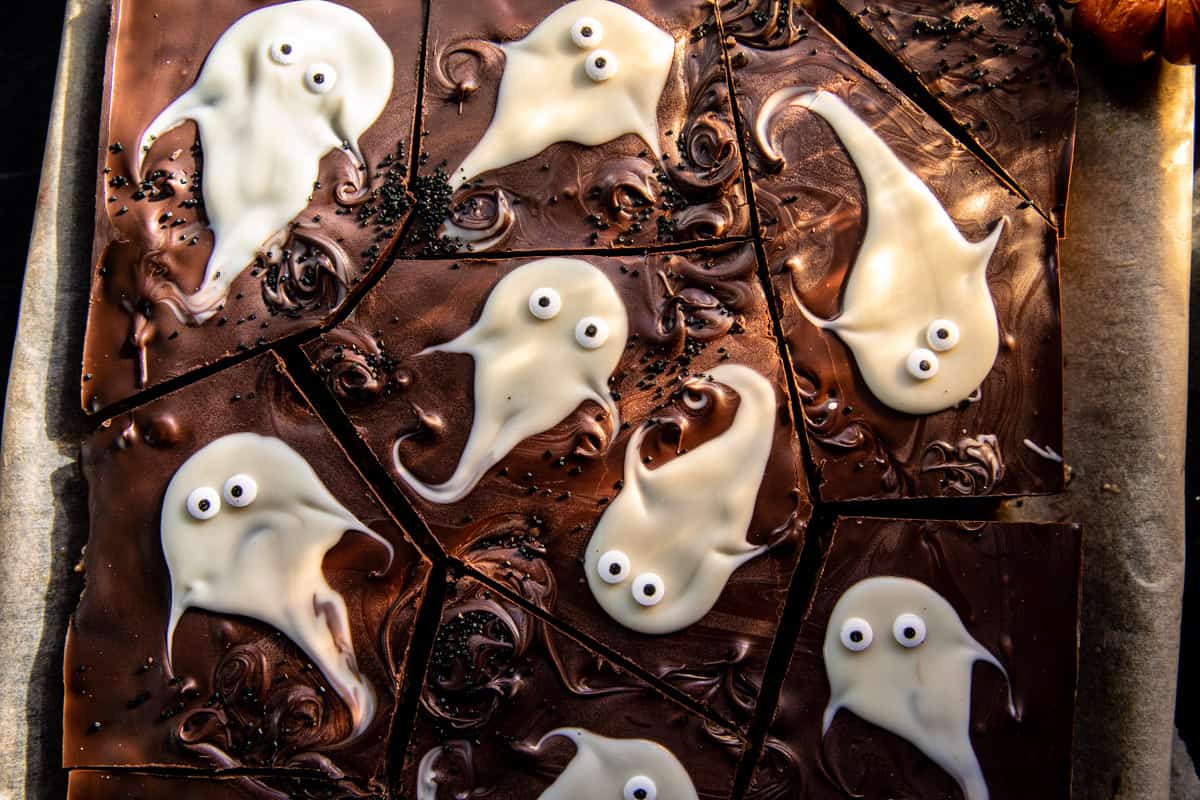
Then just chill and cut the bars into awkward-shapes.
The secret to success with these bars is to not stress about making them perfect. The more imperfect the spookier they look.
Over the years I’ve learned to love and embrace the “imperfect” look. The awesome thing about spooky season treats is that the more imperfect they look, the better.
It’s all about that messed up, spooky vibe, so embrace the imperfections here. No one ghost should look like another.
You can pack them up in an airtight container and take them to the school Halloween party. Or serve them up at your adult-filled Halloween bash.
Whatever route you go, these ghostly bars will be loved.
Looking for other Halloween cookies? Here are my favorites:
“I put a Spell on You” Poison Apple Martini
Black Widow Peanut Butter Bars
Hocus Pocus Spellbook Brownies
BOO! Chocolate Peanut Butter Bars
Milk Chocolate Stuffed Jack-O’-Lantern Cookies
Lastly, if you make these BOO! Chocolate Peanut Butter Bars, be sure to leave a comment and/or give this recipe a rating! Above all, I love to hear from you guys and always do my best to respond to each and every comment. And of course, if you do make this recipe, don’t forget to tag me on Instagram! Looking through the photos of recipes you all have made is my favorite!
Nutritional information is only an estimate. The accuracy of the nutritional information for any recipe on this site is not guaranteed.
As Seen In


I gave these two stars for cuteness (and they are very cute!) but as another person mentioned they are overly sweet, and have a problematic texture oozing honey/syrup from the bottom, such that they would be impossible to hold and enjoy without the bottom dripping (even when straight from the fridge). I love many recipes on this site but wanted to save others from the time and $ expended making these.
Hi Holly,
Thanks for trying this recipe and sharing your feedback, so sorry to hear they were not enjoyed!
Hi Tieghan! We made these “not so holy” ghost cookies for a church social. Everyone loved them. Some people even took one home for later. Thanks!
Hey Julie,
Amazing! Love to hear this recipe turned out well for you, thanks so much for making it!
This recipe was a no for me. The cookie bars set up nicely when refrigerated but just a few minutes out of the fridge and they were a gooey, sticky mess. I ended up putting them in the freezer and I’m hoping we can eat them as a frozen treat. My other issue with them was the very high level of sweetness-just too much. I am a big fan of most of the recipes I have tried from HBH but this one just didn’t work well for me.
Hi Leslie,
Thanks so much for trying this recipe and sharing your feedback, I’m so sorry to hear they were not enjoyed!
Can you make and freeze ahead of time? Thank you
Hey Janet,
Sure, that would work well for you! Please let me know if you give this recipe a try, I hope you love it!
I chose this recipe bc of the “care free” nature of it. The base was too sticky and didn’t harden. This is a chewy, soft, sticky bake – probably bc it’s not baked in the oven to help caramelize the sugars. Not great to make treat bags with. Won’t to be baking this again.
Hi there,
Thanks for trying this recipe and sharing your feedback, so sorry to hear it was not enjoyed! xx
I wanted to love this recipe but it was a big miss. The bottom layer is only held together by the chocolate topping but was still crumbly. There is too much of the honey and maple syrup making the bottom layer too sweet and weeping out of that layer. I look forward to trying other recipes on this site, but won’t be making this one again.
Hi Margie,
Thanks so much for trying this recipe and sharing your feedback, so sorry to hear it was not enjoyed. If there is anything specific that I can help with, please let me know! xT
I’ve made these a few times now…sometimes without the ghosts…and they’re always a hit. I like using cocoa krispies for an extra chocolate kick
Hey Hayriye,
Wonderful! So glad to hear you have been enjoying this recipe, thanks for making it! Have the best autumn weekend! xT
Hi! I’m getting ready for a party in 5 days, how long will these last in the fridge?
Thank you!!
Hi Kaylen,
These are good in the fridge for 3-4 days. I hope you love this recipe, please let me know if you have any other questions! xT
Just made these and they turned out amazing! I don’t even like peanut butter but I loved these! Thanks for a cute and tasty recipe!
Hey Erika,
Yay!! So glad to hear you enjoyed these treats, thanks so much for giving them a try! xx
Made these for some work parties and they were a huge hit! They are my new go-to party dessert! For the recipe I didn’t need all of the white chocolate, I probably only used about 4-5 oz for 2 batches, but that was just my experience.
Thanks so much Chessa! So glad you have been enjoying this recipe and thanks for sharing it with so many others! xx
iLOVE LOVE LOVE Tieghan!!
I made these, wish I could post a pic!
Hi Victoria,
Awesome!! Love to hear that these bars were a winner, I appreciate you making them and your feedback! xx
Hi! I’m so excited to make these for Halloween but I do have a question- What else is sprinkled on top of the chocolate? Not sure if it was chocolate chips – Next to the chocolate swirls – thanks!