Next Post
Slow Cooker Braised Hawaiian Pineapple Chicken Tacos.
This post may contain affiliate links, please see our privacy policy for details.
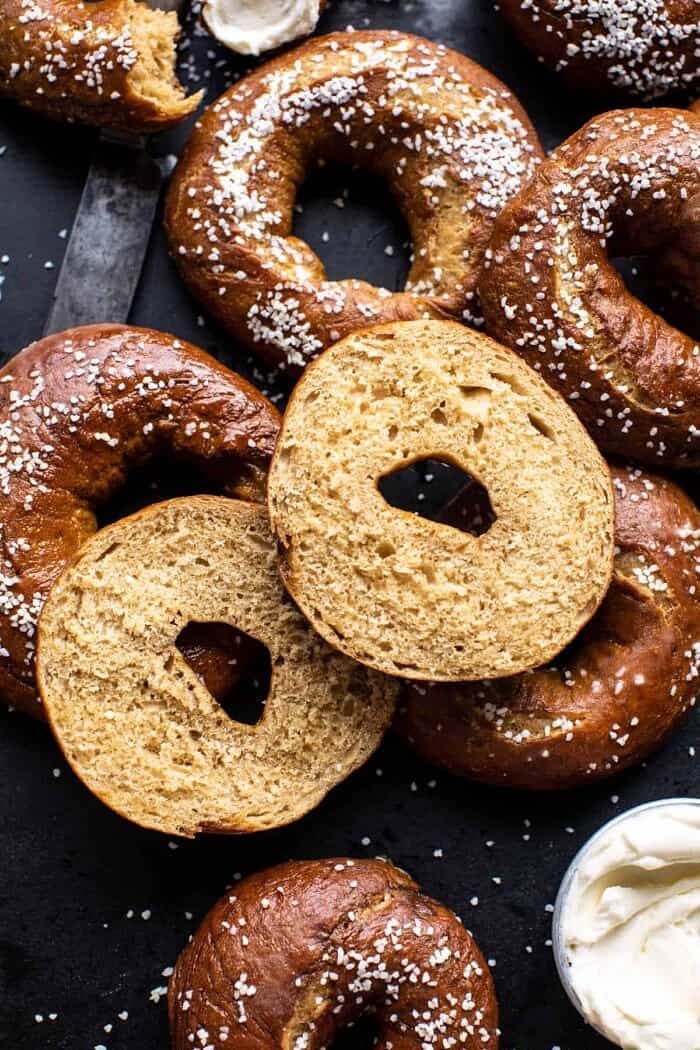
The easiest Homemade Pretzel Bagels with double the salt and a little extra butter too. A mix between a soft, buttery, salty pretzel and a slightly chewy bagel. They’re airy, perfectly salted, and every last bite is oh so buttery…the best of both worlds. These bagels are made using only pantry staples, require very little prep work, and are truly easier than heading out to your local bagel shop. The perfect baking project any day of the week (what day of the week is it again)!
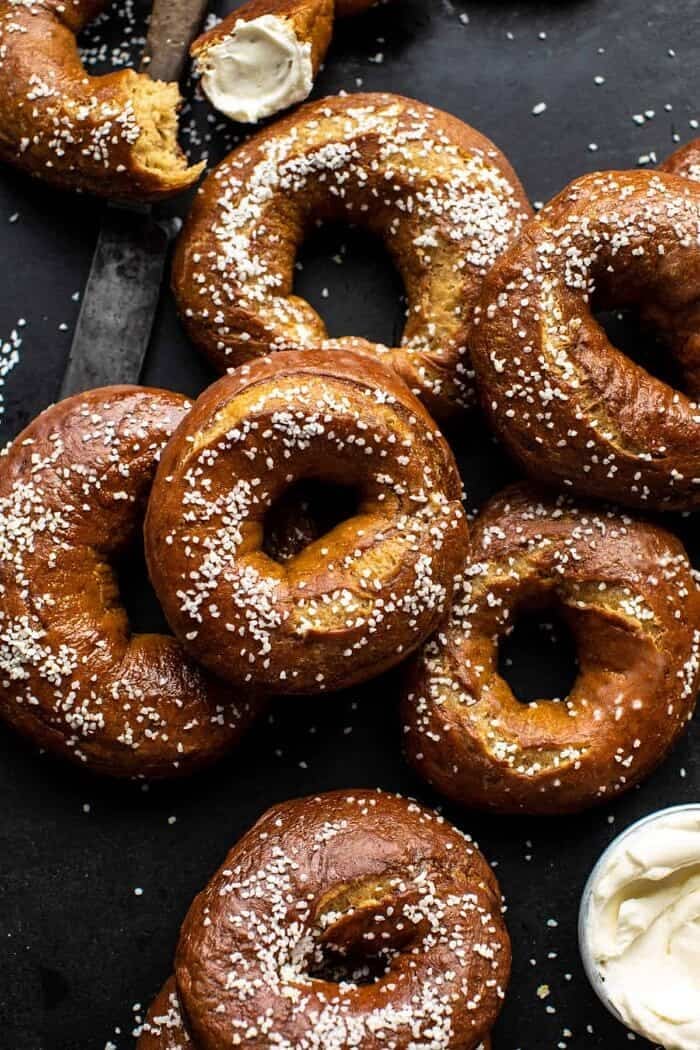
I think the one thing we can all agree on right now is that a good project is just what we need. Not that these bagels are difficult by any means, but they are bagels. They require using your hands, your focus, and they’re sure to distract your mind from any anxiety you might have. Even if it’s only for an hour or so. Some days (maybe more than others) just call for a good baking distraction.
Sure, watching TV is great, but the returns from baking are far more delicious, especially when the baked goods are salty, buttery, pretzel bagels.
I mean, right? Yes, yes, there’s really nothing better than fresh baked goods.
In all seriousness, I made these bagels over the weekend after contemplating making them for weeks. I wasn’t really sure how you all would feel about baking homemade bagels. But I also knew a homemade pretzel bagel had the potential to be incredible, and truthfully, I was stressed. I needed the distraction myself. So, I decided to give them a try, and after just one test, I knew this was a recipe that needed to be shared. These aren’t your average bagels…they’re BETTER, and super easy too!
Fair warning, the butter plus salt combination does make these bagels a little bit addicting…
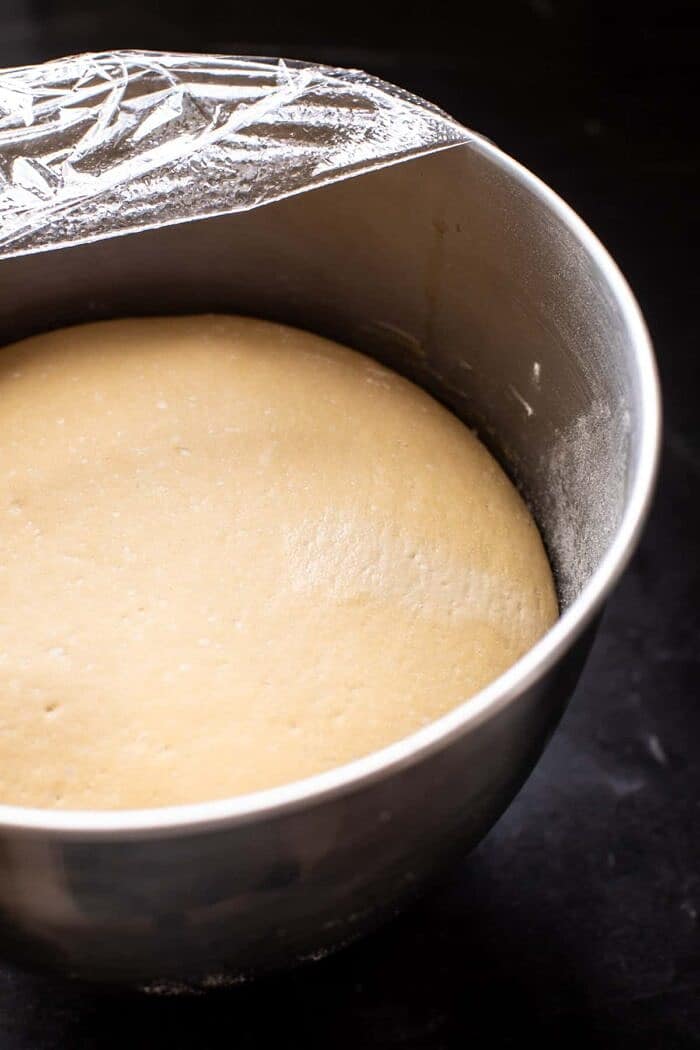
If you’ve never made bagels, I know they can be intimidating, but the truth is, they’re really pretty simple. Especially with this recipe.
My trick is to use instant yeast, which makes mixing up the dough easy and keeps the rising time very minimal. What’s really awesome is that these bagels require no fancy ingredients. Just water, yeast, molasses or honey, flour, salt, and butter.
That’s it. And if you have a kitchen with anything stocked in it, then you most likely have these ingredients on hand. I will say that using pretzel salt can elevate your bagels just a smidge. But of course, you can also use a good Kosher salt or flaky sea salt. They’re all salt, just different sizes, so it all works!
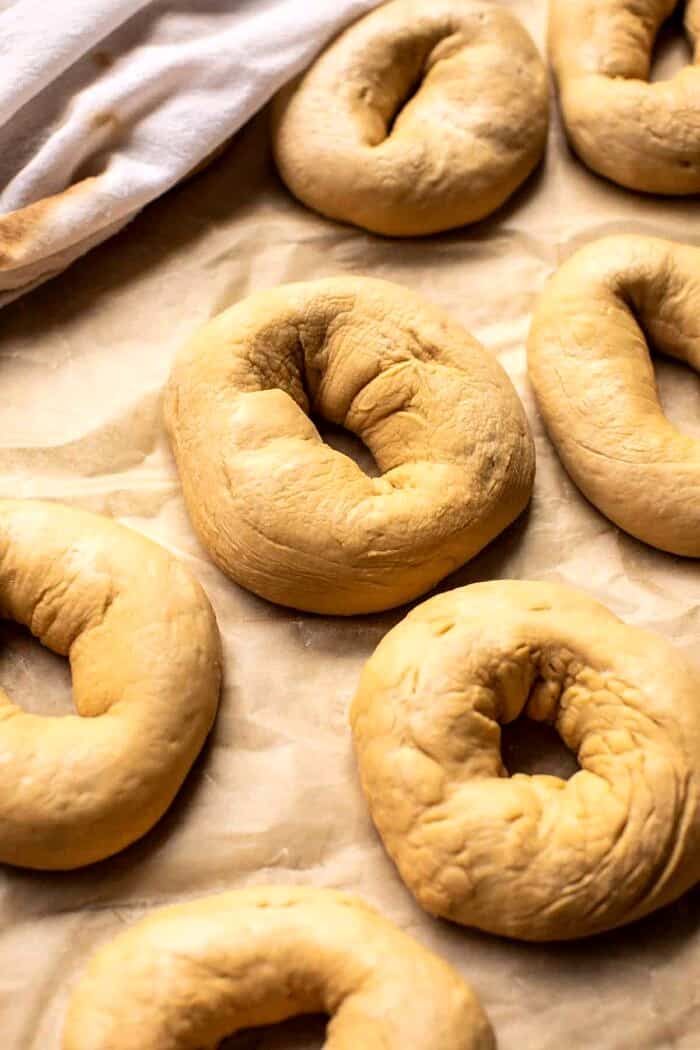
Start by mixing the dough, then let it rise. This takes anywhere from one to two hours, it just depends how warm your kitchen is. Once the dough has doubled in size, shape the dough into bagels. Meaning, roll into balls, punch a hole through the center of each ball, and create a bagel shape. EASY.
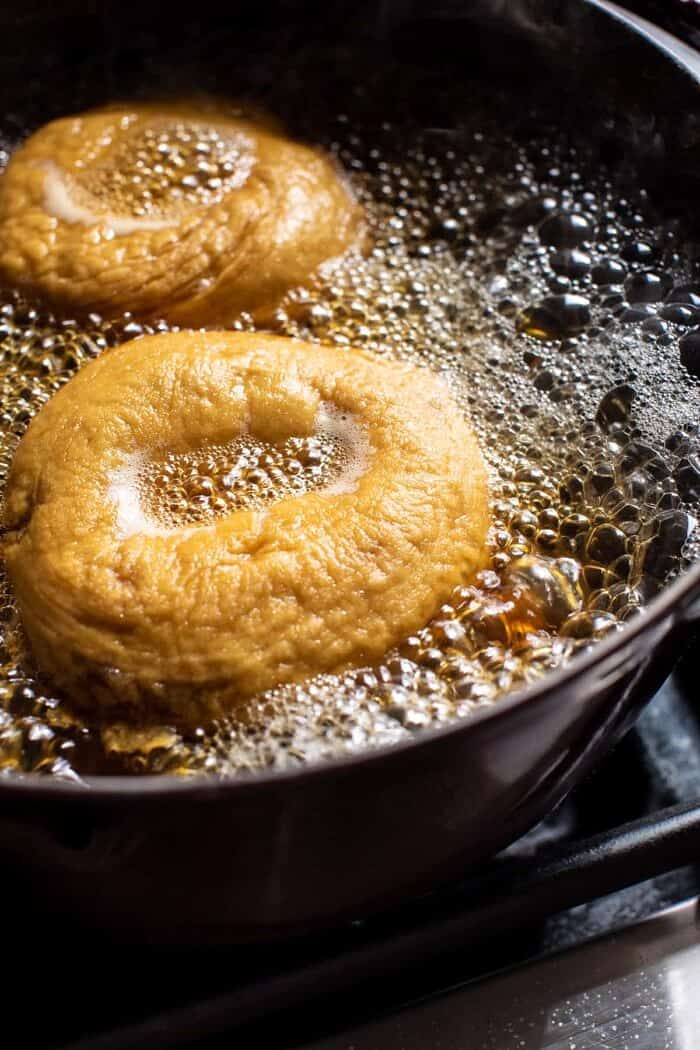
The trickiest part about bagels is the boiling process, which actually isn’t tricky at all. Simply drop the bagels, a few at a time, into the boiling water and boil until they float. Boiling the bagels before baking gives them that chew factor, and that classic “bagel” taste. Pretzels are cooked in the same way.
Brush each bagel with a beaten egg. This will give them a nice golden color.
Then the next step is KEY. Bake the bagels, but about halfway through cooking, remove them from the oven and brush each generously with melted butter, and then sprinkle the salt. That’s the “pretzel” portion…and honestly? It’s the best part.
Return the bagels to the oven and minutes later you’ll have hot, buttery, salty pretzel bagels all ready to be eaten. And yes, your kitchen will smell better than your local bagel shop, trust me. Hints of butter, soft bread baking, and somehow you can almost smell the salt in the air.
It’s a wonderful thing.

First, these bagels disappear quickly. If you want to have leftovers to freeze, I’d recommend doubling the recipe. Make a dozen for the week and a dozen to freeze and have ready at a moment’s notices.
These bagels are insanely delicious right out of the oven served with additional butter or a smear of cream cheese. They’re also great toasted and enjoyed for breakfast. Or use them to make your favorite sandwich. You can even serve them alongside dinner. The salt makes them perfect for just about any time of day.
Second, I highly recommend freezing any bagels that aren’t eaten right away. The salt on top can cause the bagels to get soggy while being stored. Still perfectly good to eat, just not as enjoyable as when they are frozen and then toasted.

Oh! And one last idea, if you’re looking for something on the sweeter side, do this. Slice your pretzel bagel in half, toast it, butter it (be generous), and then sprinkle with cinnamon sugar.
Oh. So. Good.
So, with that thought? Who’s making pretzel bagels today? And how will you enjoy them?
PS. Asher and my mom have declared these their new favorite snack…but they love any kind of bread…especially when salt is added.
PSS. Looking for other bagel options…try these!
If you make these easy homemade pretzel bagels, be sure to leave a comment and/or give this recipe a rating! Above all, I love to hear from you guys and always do my best to respond to each and every comment. And of course, if you do make this recipe, don’t forget to tag me on Instagram! Looking through the photos of recipes you all have made is my favorite!
Nutritional information is only an estimate. The accuracy of the nutritional information for any recipe on this site is not guaranteed.

used the metrics option as i have a scale and the dough was watery with 688 g of flour.. kept adding flour but the dough was insanely sticky throughout the process, had added about 2 extra cups whilst shaping but it was stick city. waiting for the 15 mins proof and will see if its worth the hassle
update: tried to boil bagels and put them in the oven. absolute failure from start to finish. will never try this recipe again
Hi there,
Thanks for trying this recipe and sharing your feedback, sorry to hear you had some issues. Did you use a stand mixer for this recipe? What kind of yeast did you use? Was there anything you may have adjusted? Once the dough proofed, did it double in size? Was it still super sticky? Sorry, I just need some more info to better figure out what may have gone wrong for you! Again, so sorry! xx
My second time making this recipe! They turned out looking very pretzel-y, and tasting even better. If anything, they came out of the oven a little on the flat side.
Honest take on the total time required for the bagel-making process: the recipe says 2h 45 min total, but both times it took me a little under 5 hours. There were a few factors that influenced this: first, the single recipe quantity yielded more like 15-20 bagels for me instead of 10-12 (I didn’t want them to be monstrous, and was hoping to fit around 8 per baking sheet). Second, these additional bagels meant I had to batch them. I wasn’t baking with a convection oven and I needed to do three batches, which likely added an hour to the process.
However, I think the 2h 45 min total time is a little far-fetched, even with these factors removed:
Steps 1 & 2: 2 hours (0.5 hours for prep & mixing, and assuming we leave dough to rise for 1.5 hours)
Step 3: 30 mins (15 for making dough balls, 15 for dough rising)
Step 4: 20 mins (assuming 12 bagels, boiling 3 at a time)
Step 5: 40 mins (assuming 1 batch; 10 + 15 + 15 for brushing with egg, transfers & cooling)
Total: 3h 30 min
And that’s probably at a minimum. If you need to batch the recipe, you can probably tack on another 15-20 minutes per batch. Hopefully this is helpful feedback! Thanks again for making available this well-loved recipe. Cheers!
Hi Stephen,
Thanks so much for making this recipe and your feedback! These notes are super helpful and I’m sure will help other readers:) So glad to hear that they turned out well for you! Have a great weekend:) xT
These are delicious! Really easy to make! Thank you for sharing
So glad you enjoyed these bagels Doug! xT
Made these this weekend and really enjoyed them! 🙂 …Lots of steps but pretty easy to follow. We did also make them gluten free (because I have a sensitivity) and I will say that they are wayyyyy better fresh from the oven than reheated. They are still good – but the fresh baked had better texture. We’ll definitely be making these again and will be curious to try dividing the dough out and freezing it, so we can bake just a few at a time (not sure it will work, but going to experiment.). Love the recipe and the pretzel flavor!
Forgot to rate them!
Thanks again Deb:)
Hi Deb,
Fantastic!! I love to hear that this recipe was a hit, thanks for trying it out! Thanks for sharing your feedback! xTieghan
These bagels are so delicious! My family and I love them! Thanks for another great recipe!
Hey Lisa,
Fantastic!! I love to hear that this recipe was a hit, thanks a lot for making it! Have the best weekend:) xTieghan
I was very excited to make this ‘cause the first and last time I had it was in upstate NY. This turned out badly and had to throw 95% of it away. Also, I’m in CO so higher elevation cooking had to be accounted for.
Hi Celeste,
Sorry to hear the recipe was not enjoyed. Was there anything I could help you with? Let me know! xTieghan
Everything went really well in this recipe except the egg wash… my bagel had some crevices in the top and the egg wash sunk into them leaving me with weird gummy egg bits on the tops of my bagels 🙁 I have heard a lot of people say they only use egg whites or they mix them with water to prevent this. I might have to try that next time as this issue made some of my bagels not very edible 🙁
Hey Hannah,
Thanks so much for giving this recipe a try, so sorry to hear about the egg wash. Next time, make sure to dab the bagels with a paper towel so they are extra dry after the boiling. I hope this helps! xTieghan
Hannah, I had the same issue. I was careful to not use too much egg wash, yet the bagels tasted eggy and had gooey spots. 🙁 I might try using a milk wash, or just egg yolk mixed with water as my MIL suggests.
Making them right now… I’ll be back!
I hope you love the recipe Robin!
Hi there! Wondering if I can make them through boiling and bake them off in the morning?
Hey Laurie,
Yes, that would work just fine, I would keep covered in the fridge. I hope you love the recipe, please let me know if you have any other questions! xTieghan
Mine went well until the boiling process. Even after draining and placing on parchment they were very soggy and have a weird texture. Sad since it was a large batch of dough